If you’ve ever thought about adding a personal touch to your bedroom, building a DIY nightstand is a perfect place to start. Not only is it a great beginner-friendly project, but it’s also affordable and rewarding. Imagine waking up every day knowing you created that little piece of furniture with your own hands. That feeling is so special!
In this post, we’ll explore 25 easy DIY nightstand ideas that anyone can try, no matter your skill level or budget. Whether you want something sleek and modern or rustic and cozy, there’s a project here just for you.
So, whether you’re a seasoned DIYer or just starting, get ready to find inspiration and practical plans to build your nightstand DIY. We’ll also cover step-by-step instructions later on how to make a diy nightstand.
Ready? Then, let’s get started!
25 Cheap DIY Nightstand Ideas to Inspire You
Here are 25 creative, budget-friendly DIY nightstands that will inspire your next project.
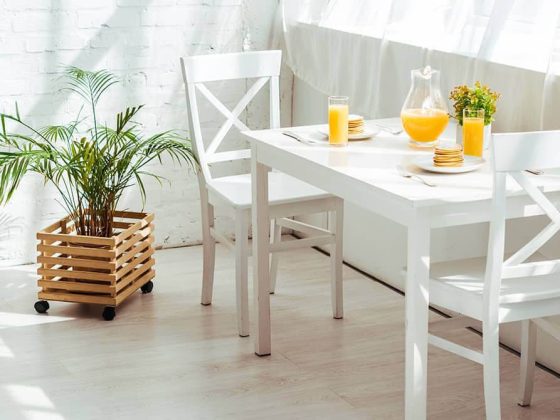
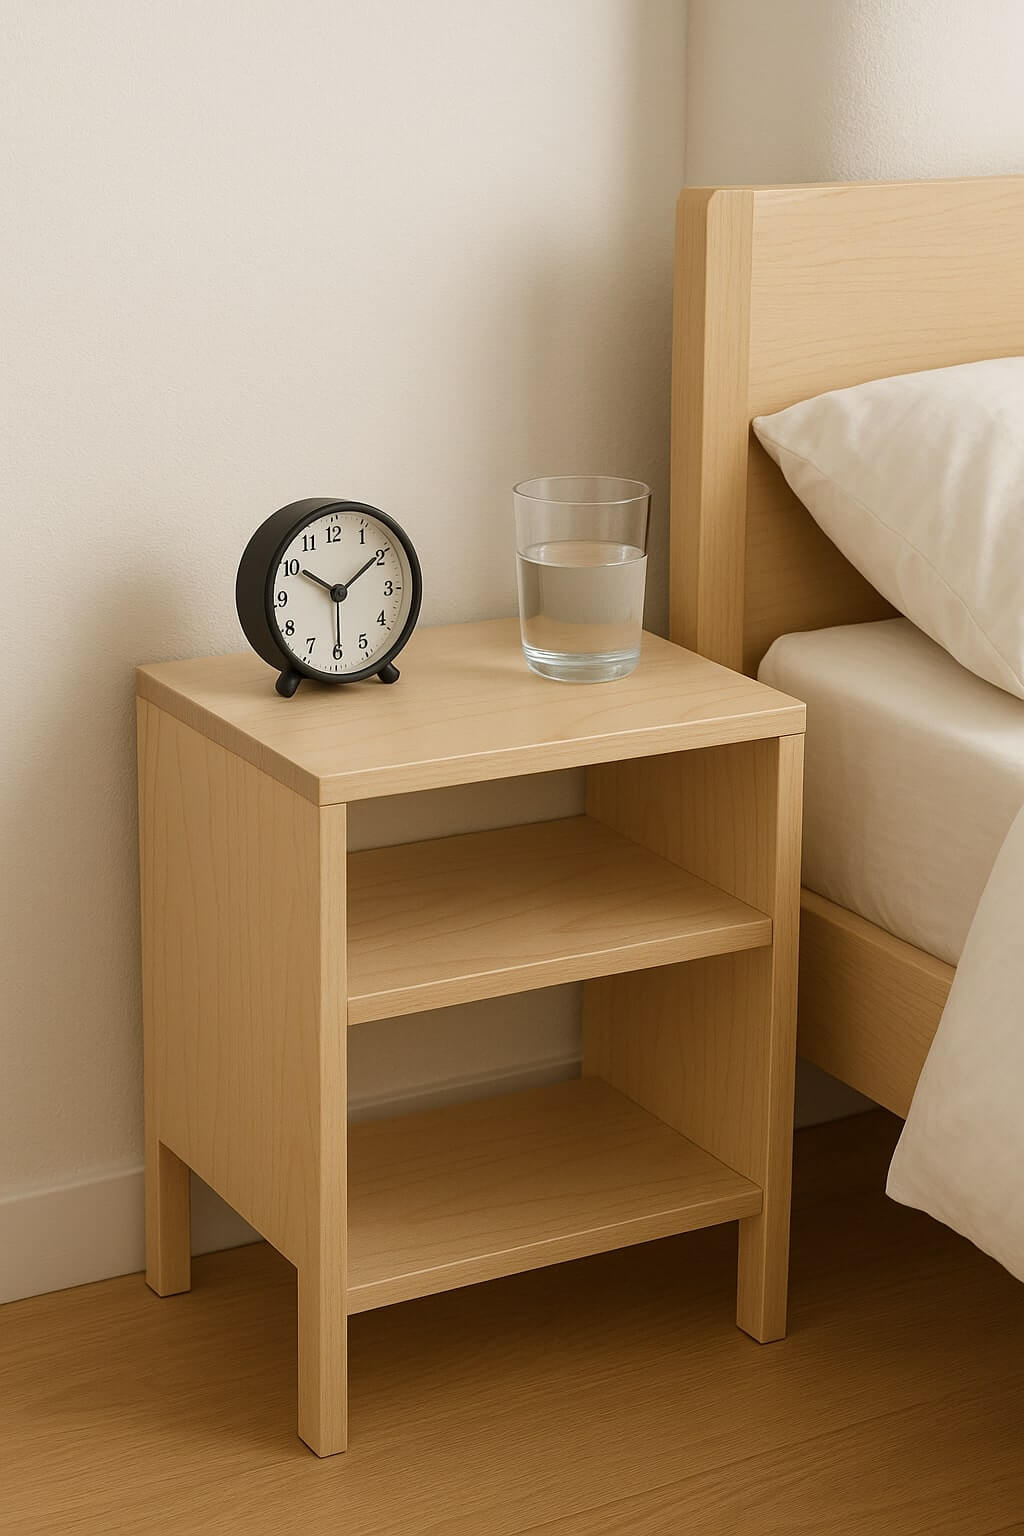
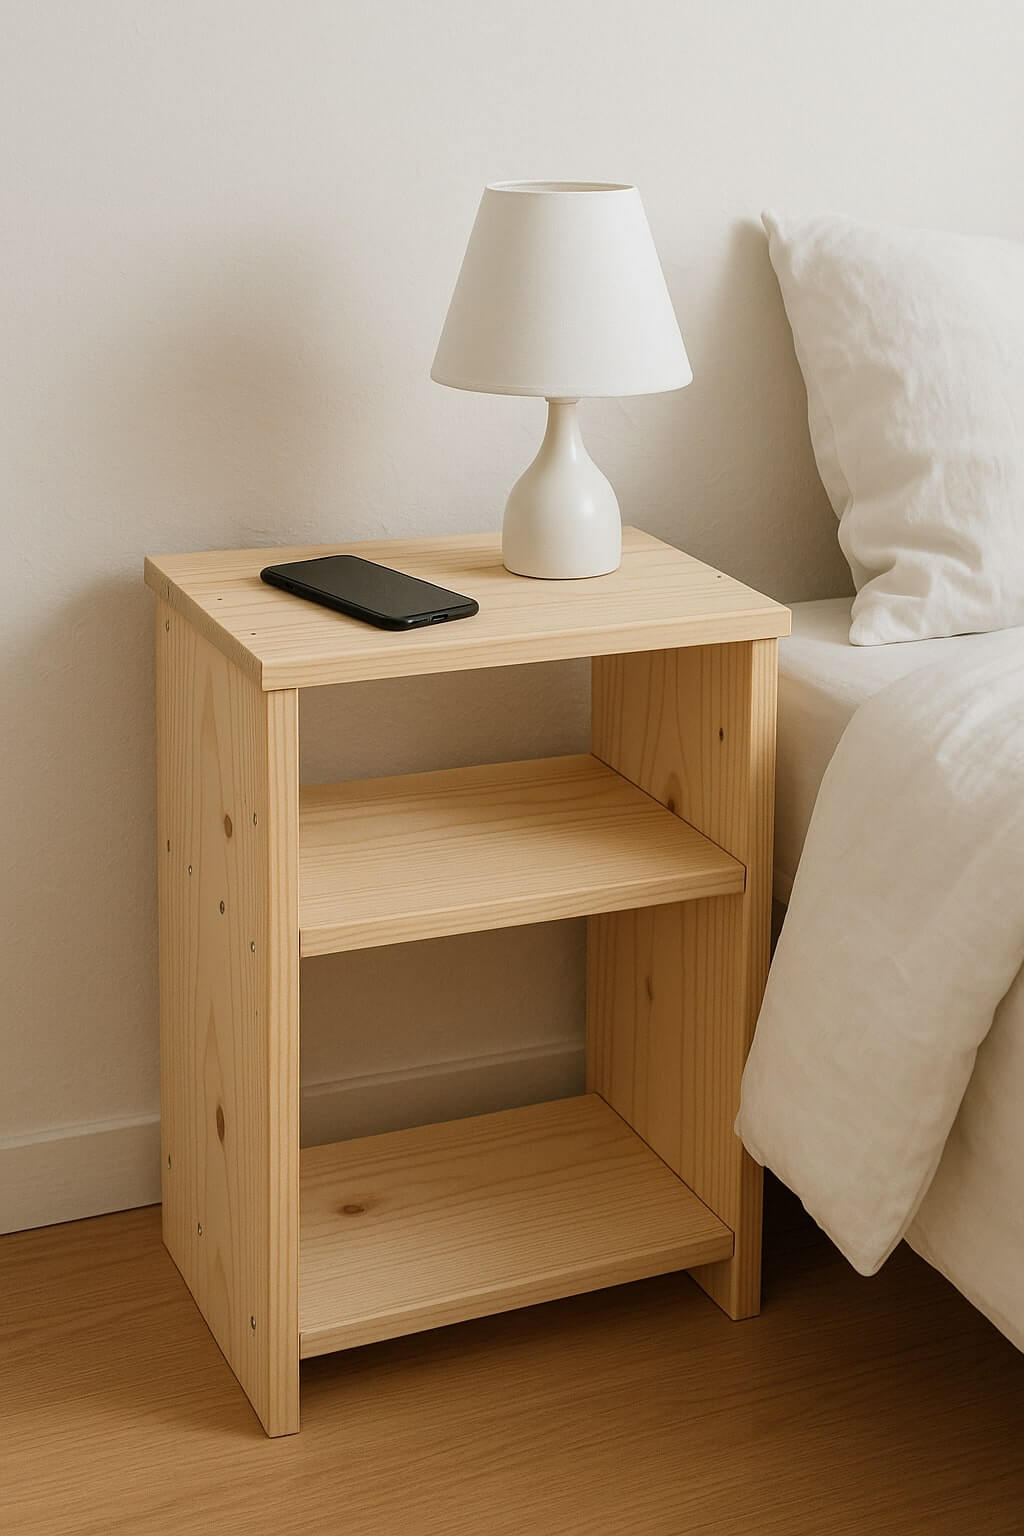
1. Build a Classic Wooden DIY Nightstand
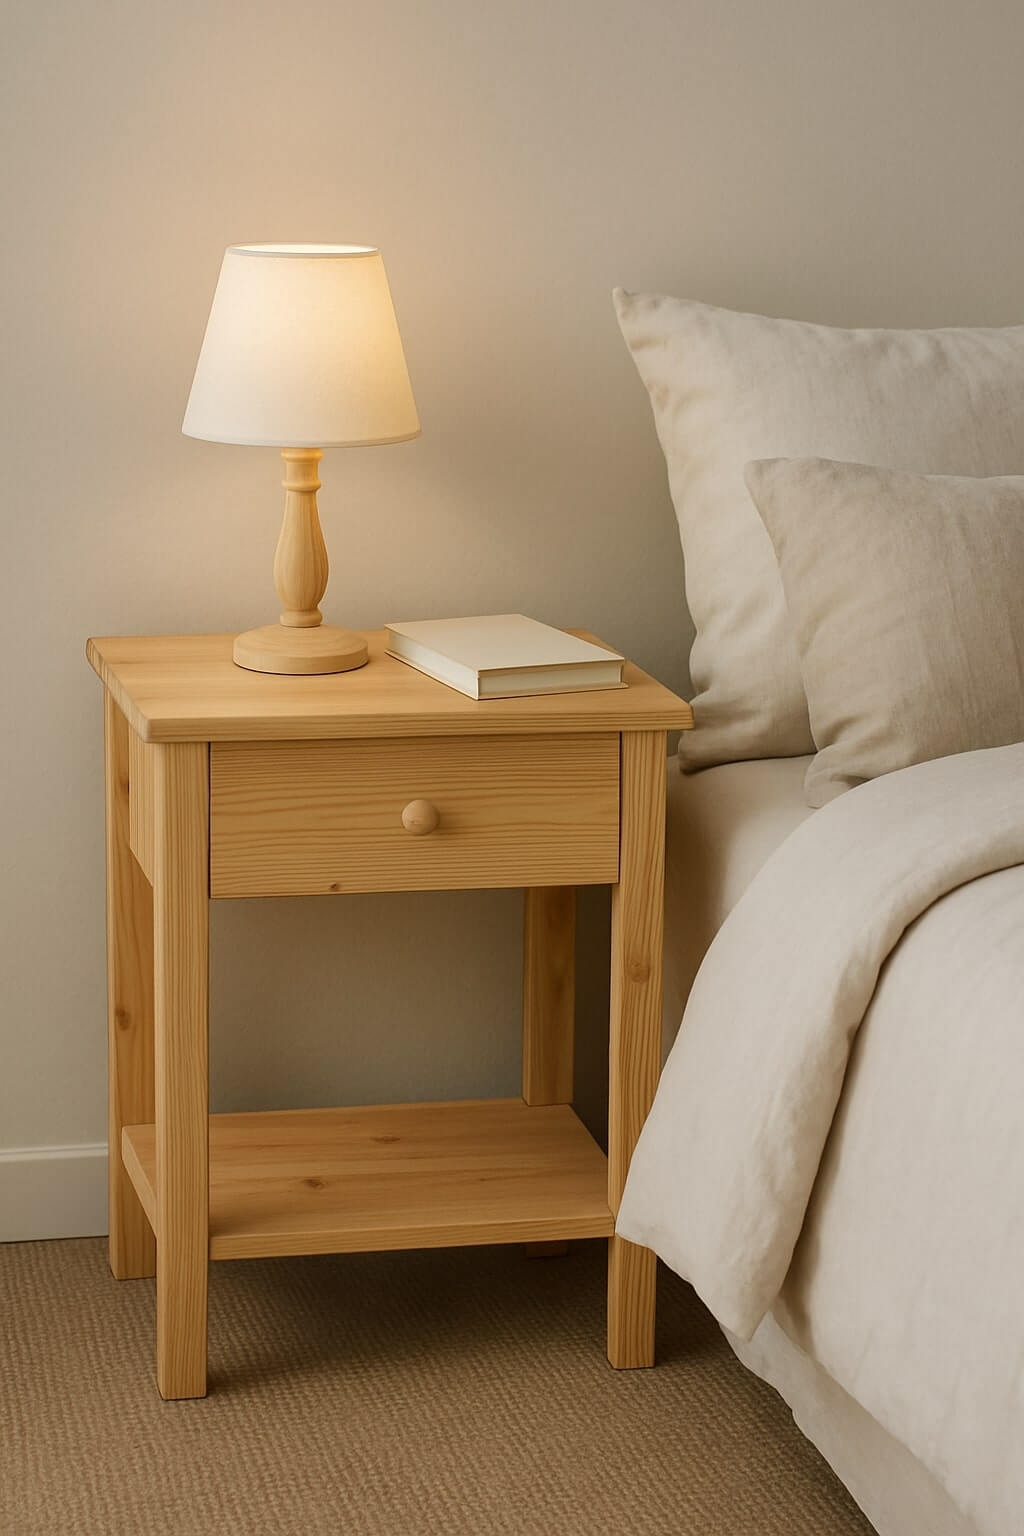
This is a solid starting point if you want a piece that’s both functional and easy to build. Use affordable pine wood or plywood. You’ll need to cut the top, sides, bottom, and one or two shelves or drawers.
Plus, wood nightstands are sturdy and let you practice basic woodworking like measuring, cutting, and assembling. Finish it with a simple wood stain or paint to suit your bedroom colors. Plus, adding drawer handles is easy and customizable.
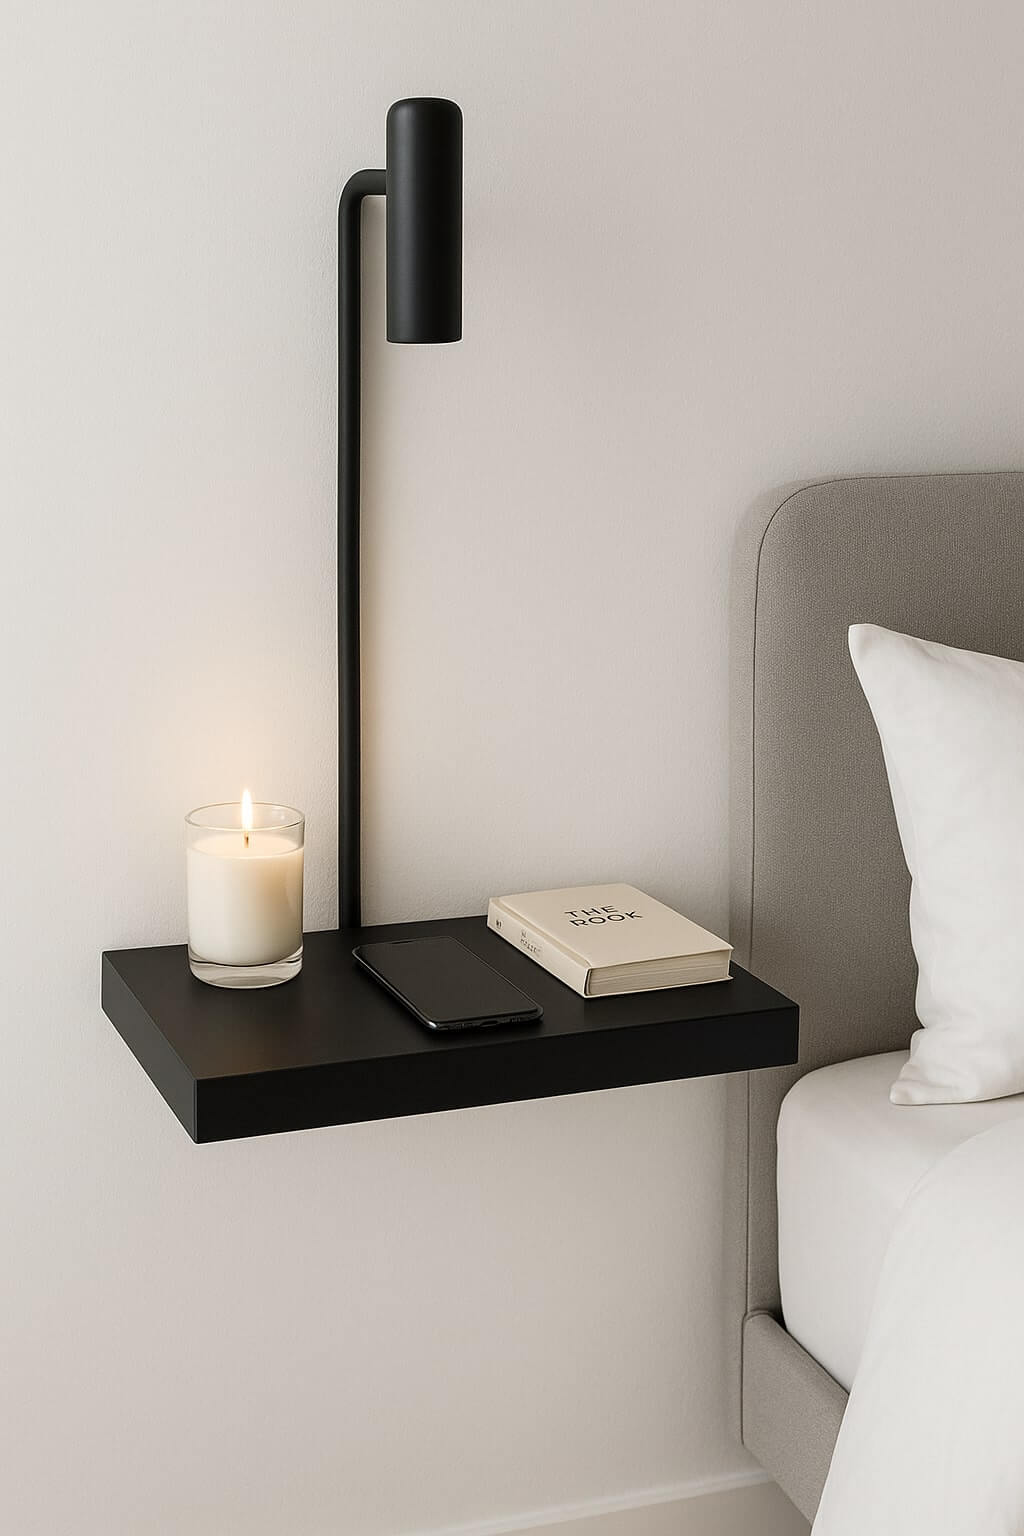
2. Create a Sleek DIY Floating Nightstand for Small Spaces
If you’re working with a tight bedroom layout or just want to keep things looking clean and modern, a floating DIY nightstand is a fantastic option. Floating nightstands are mounted directly on the wall, which means they don’t take up any floor space. This makes your room feel bigger and gives you more room to move around.
You’ll need a strong wooden board, mounting brackets, and anchors suitable for your wall type. You can also keep it simple with just a flat shelf or add features like hidden storage or a built-in charging station. This way, you get a stylish and practical nightstand that fits your space perfectly without breaking the bank.
RELATED: 10 Best Floating Nightstands for a Clean, Airy Bedroom
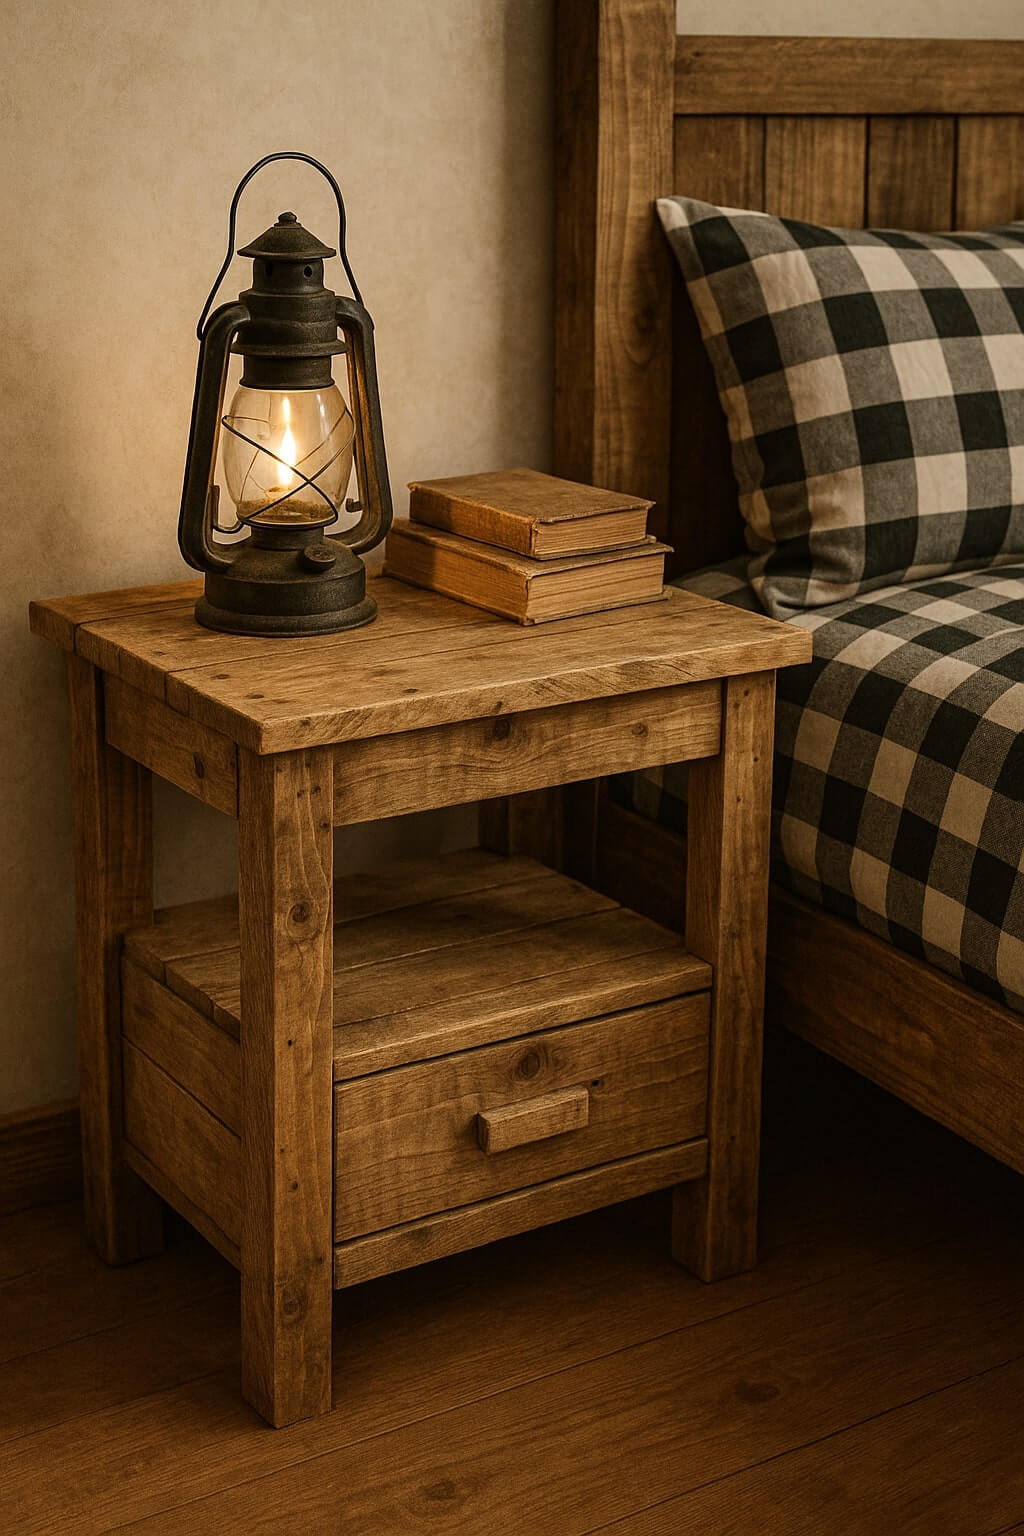
3. Make a Rustic Crate Nightstand That’s Budget-Friendly
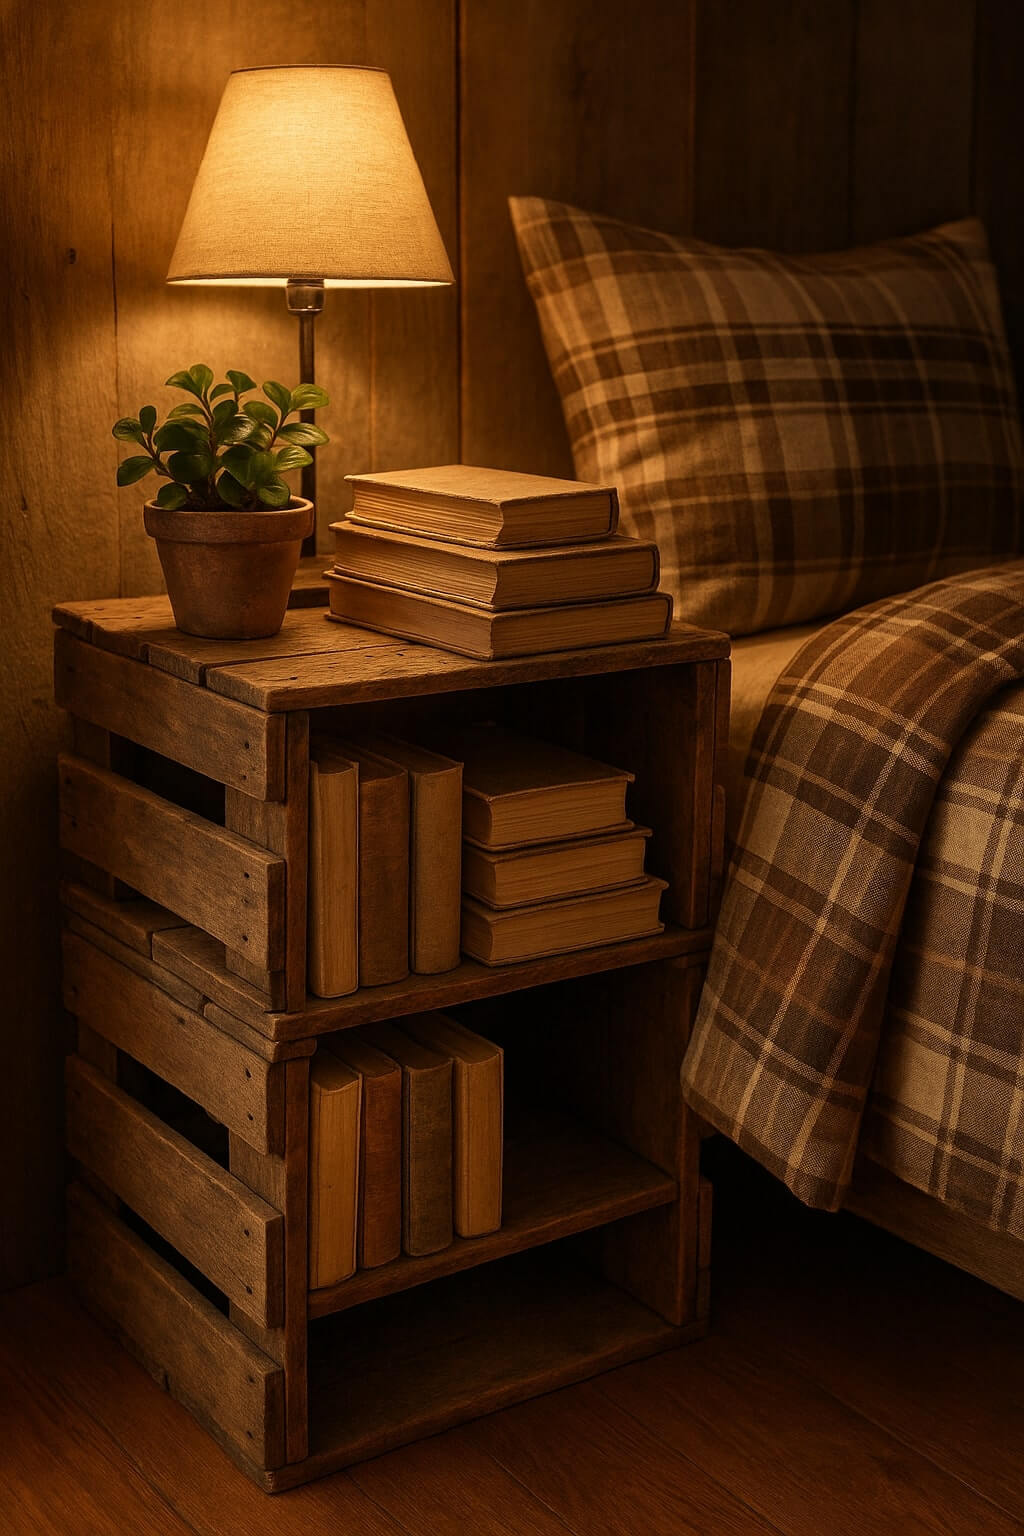
A rustic crate nightstand is a fantastic budget-friendly option that brings charm and character to your bedroom. Using simple wooden crates, you can create a nightstand with plenty of storage space for books, magazines, or other bedside essentials. You can stack one or two crates, paint or stain them to match your room or leave them raw for a more authentic look.
The natural wood texture gives it a cozy, farmhouse feel that works well in many decorating styles, from rustic to shabby chic. Plus, crates are usually inexpensive or even free if you repurpose old ones, making this project easy on your wallet.
4. Design a Stylish DIY Mid-Century Modern Nightstand
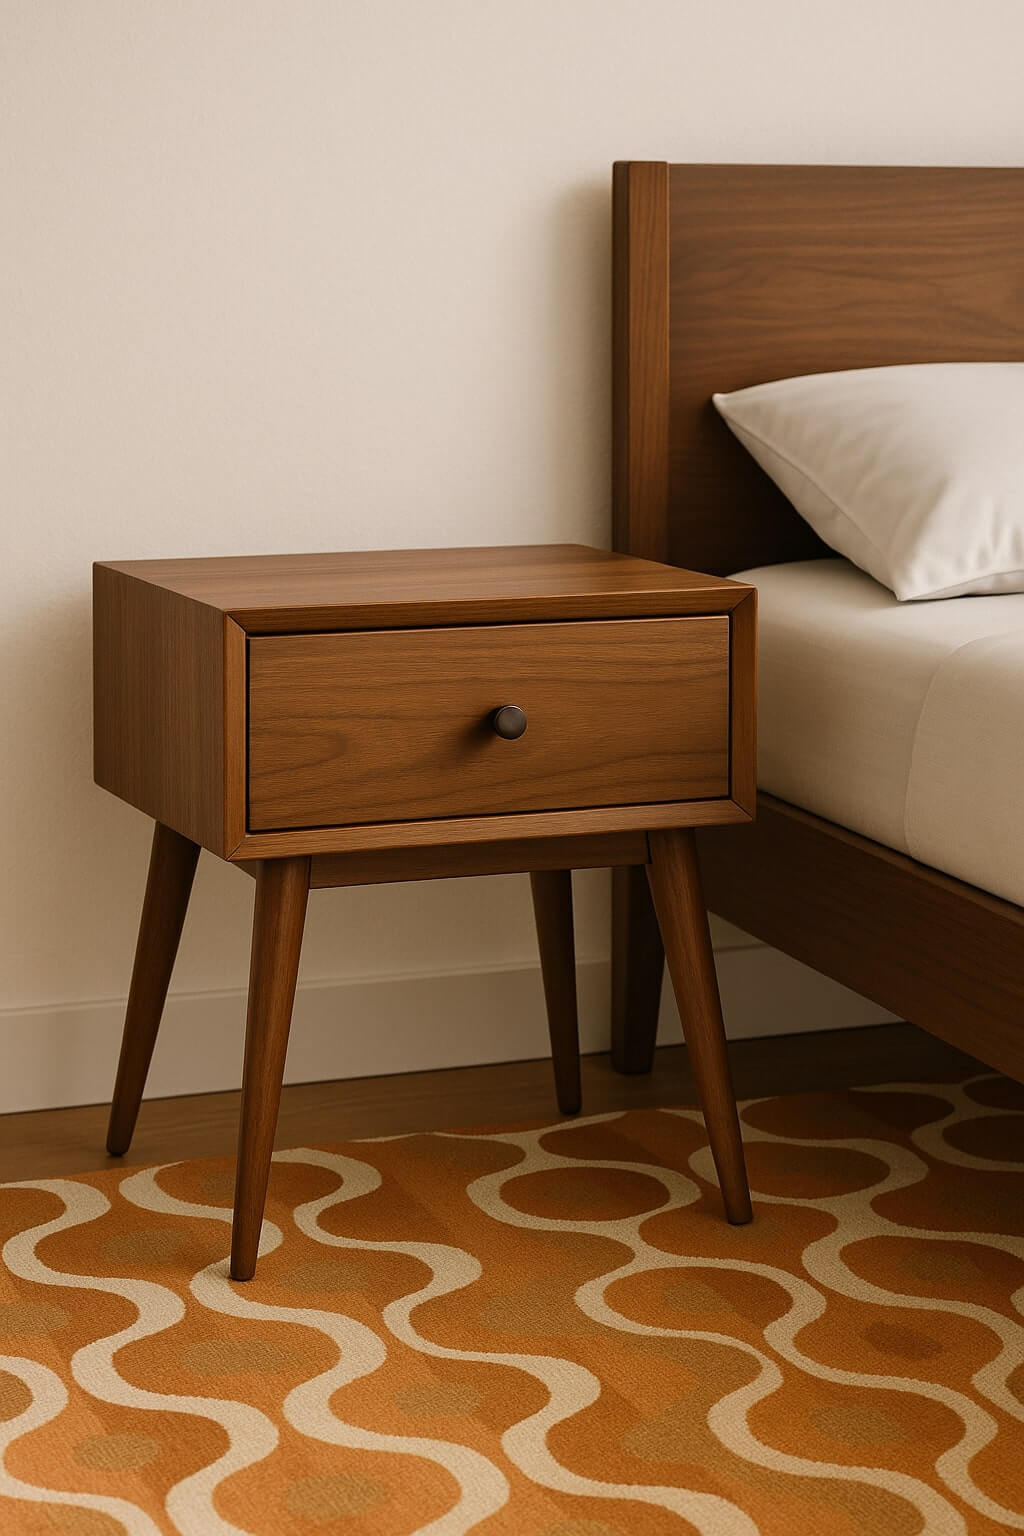
If you love the look of clean lines and simple shapes, a DIY mid-century modern nightstand might be just what you need. This style is all about being stylish without being fussy. What’s great is you can build one yourself and pick the wood and colors that match your space perfectly, so it feels like it was made just for you.
Making this nightstand is pretty doable, even if you’re not a pro at woodworking. You’ll mostly be cutting and putting together wood pieces, and you can add a drawer or a little shelf if you want some extra storage. It’s both beautiful and valuable, and best of all, it’s something you made with your own hands.
5. Craft a DIY Nightstand with Drawers for Extra Storage
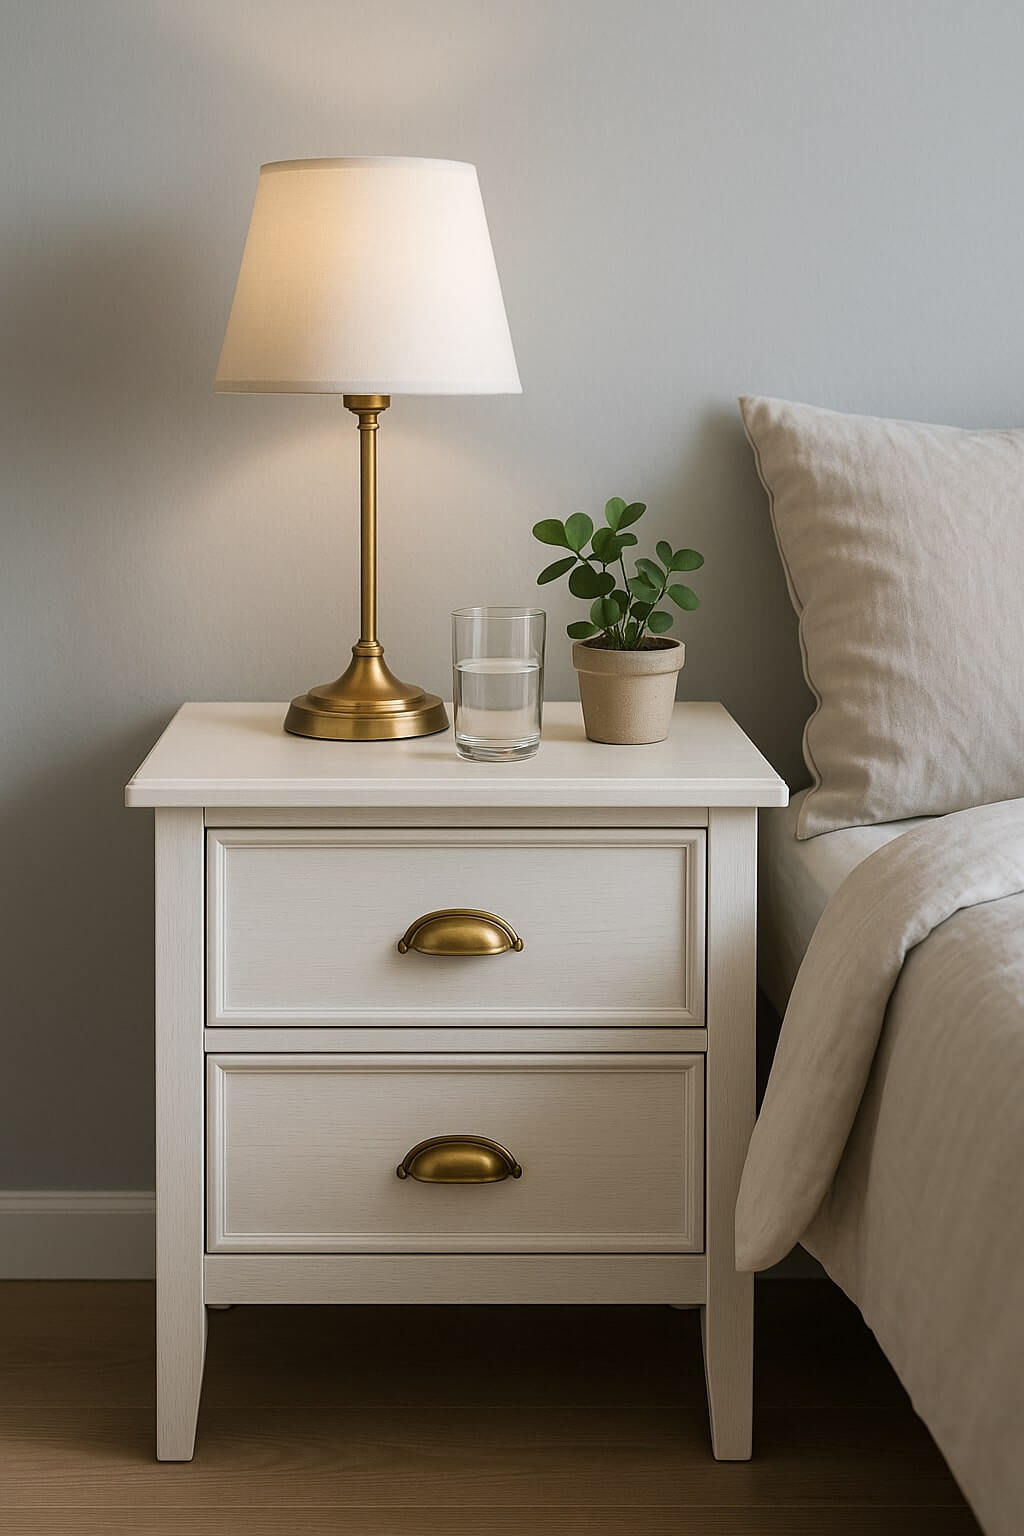
If you like to keep your bedside neat and clutter-free, a DIY nightstand with drawers is a must-have. This one is a bit more advanced but super rewarding. You’ll need plywood for the frame and drawer boxes, plus drawer slides for smooth operation. Measure carefully to fit your space, and don’t forget to choose drawer handles or knobs that match your room’s style.
Beginners can start by building simple box drawers that slide on wooden rails instead of metal slides to simplify the process. Paint or stain the drawers and frame to add a personal touch. Having drawers means you can stash everything from books and chargers to nighttime skincare products, keeping your top surface tidy.
6. Give Old Furniture New Life with a DIY Nightstand Makeover
Sometimes, the best DIY is a fresh update to something you already own or find cheaply at a thrift store. Start by sanding the entire piece to remove old paint or varnish. Then, choose a new color that complements your room, maybe a trendy matte black, soft blush, or classic white. Swapping out outdated drawer pulls or knobs with new ones can instantly modernize the look.
For a creative twist, you can add stencils, decals, or even wallpaper to the drawer fronts. The whole makeover process usually takes just a day or two but transforms your nightstand into a stylish new piece without building from scratch.
7. Put Together a Minimalist Small Nightstand That Fits Anywhere
If you’re short on space or just love a clean, simple look, a minimalist DIY nightstand is an excellent project for you. These nightstands focus on keeping things basic. No extra frills or bulky parts, so they fit easily in any corner of your bedroom, even in tight spots. Because they’re small and sleek, they also help your room feel open and calm, not crowded or cluttered.
Building one is straightforward and perfect if you want something practical without spending too much time or money. You can customize it with just a single drawer or an open shelf for your essentials like your phone, book, or glass of water. It’s all about making the most of your space while keeping your nightstand stylish and functional.
8. Build a Pallet Wood Nightstand Using Affordable Materials
Pallet wood is a favorite among DIYers for its rustic charm and low cost. First, find a clean, sturdy pallet (often free from stores or warehouses). Disassemble the pallet carefully using a pry bar, then sand the planks smoothly to avoid splinters. Arrange the planks to form the top, sides, and bottom shelves of your nightstand. Nail or screw them together tightly.
The grain and imperfections in the pallet wood give each piece a unique character. You can finish with a matte or satin sealant to protect the wood while keeping its natural look. This project takes more prep work but is super satisfying and budget-friendly.
9. Assemble an Industrial Style Nightstand with Pipe Legs
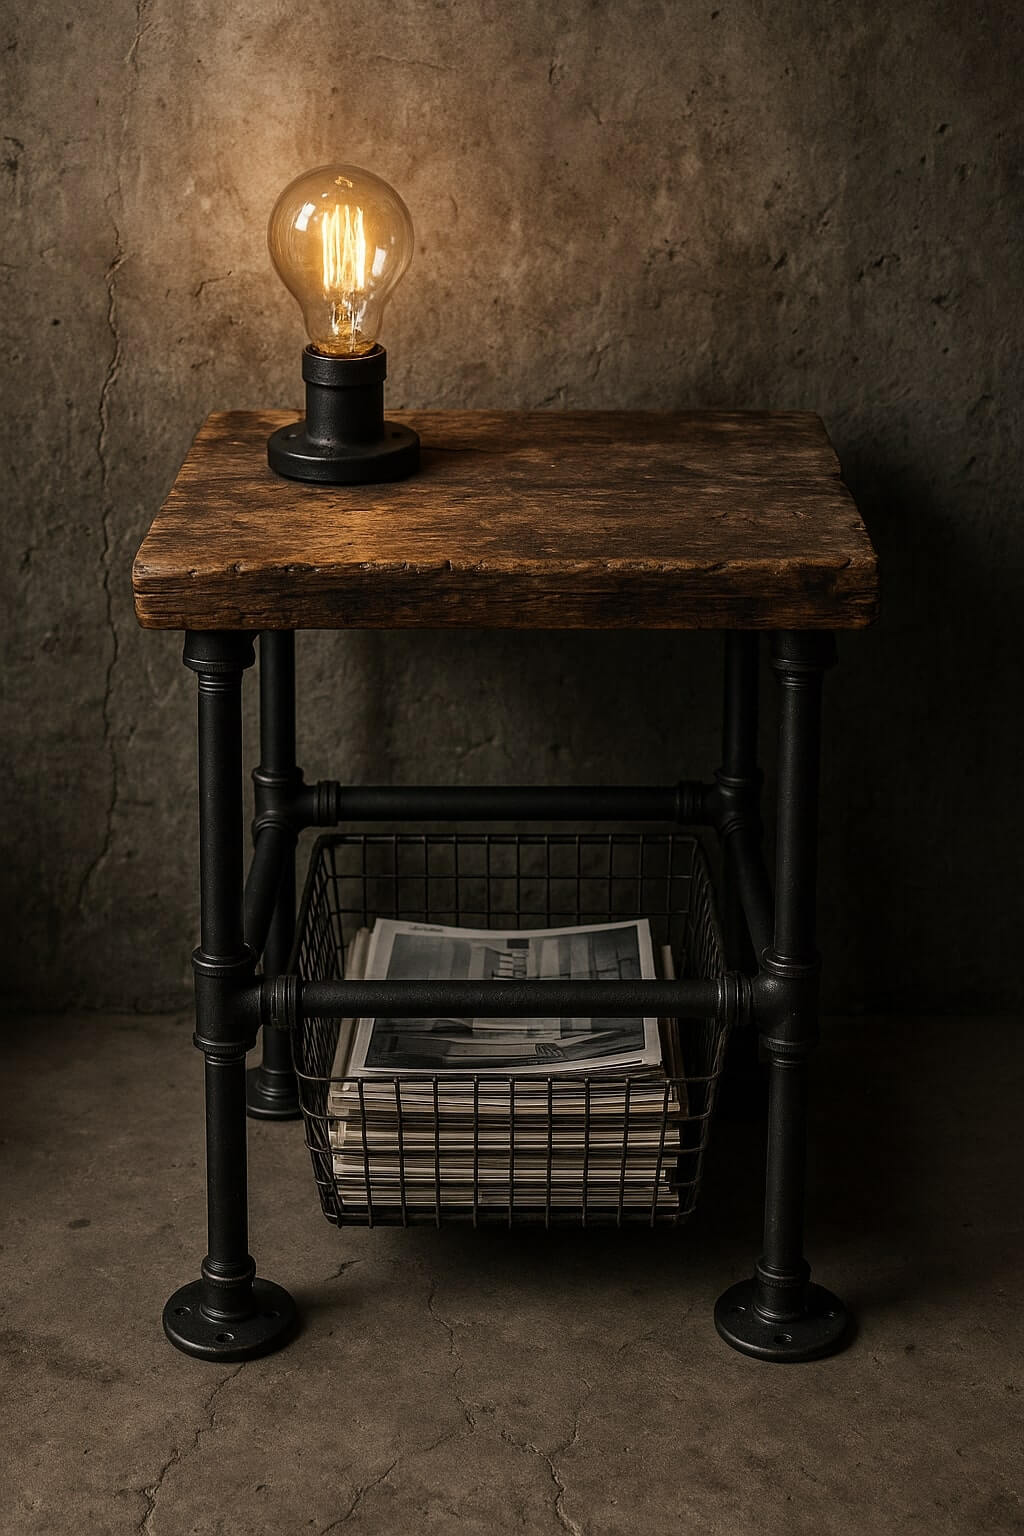
If you’re into that cool, raw look with a mix of wood and metal, an industrial-style nightstand with pipe legs could be just what your bedroom needs. The combination of wooden surfaces with metal pipe legs gives it a unique look that stands out without feeling too flashy.
You can use reclaimed wood or new planks for the top and shelves, then attach metal pipes as legs or a frame. It’s a great way to add storage and style, plus the materials are usually affordable and easy to find. These DIY nightstands fit perfectly if you like a modern but rugged vibe that’s both trendy and timeless.
10. Make a Floating Shelf Nightstand for a Modern Look
This ultra-simple idea is perfect for small spaces or if you want a nightstand that doesn’t take up any floor space. Pick a sturdy wooden shelf or make one from a piece of plywood cut to your preferred size. Mount it to the wall using strong brackets or hidden floating shelf hardware. Keep it at bedside height so you can easily reach your essentials.
This floating DIY shelf can hold a lamp, a phone, and a couple of books. You can even add small hooks underneath to hang headphones or jewelry. Installation is straightforward and only requires a drill, screws, and wall anchors.
11. Create a Simple Cube Nightstand That’s Easy to Build
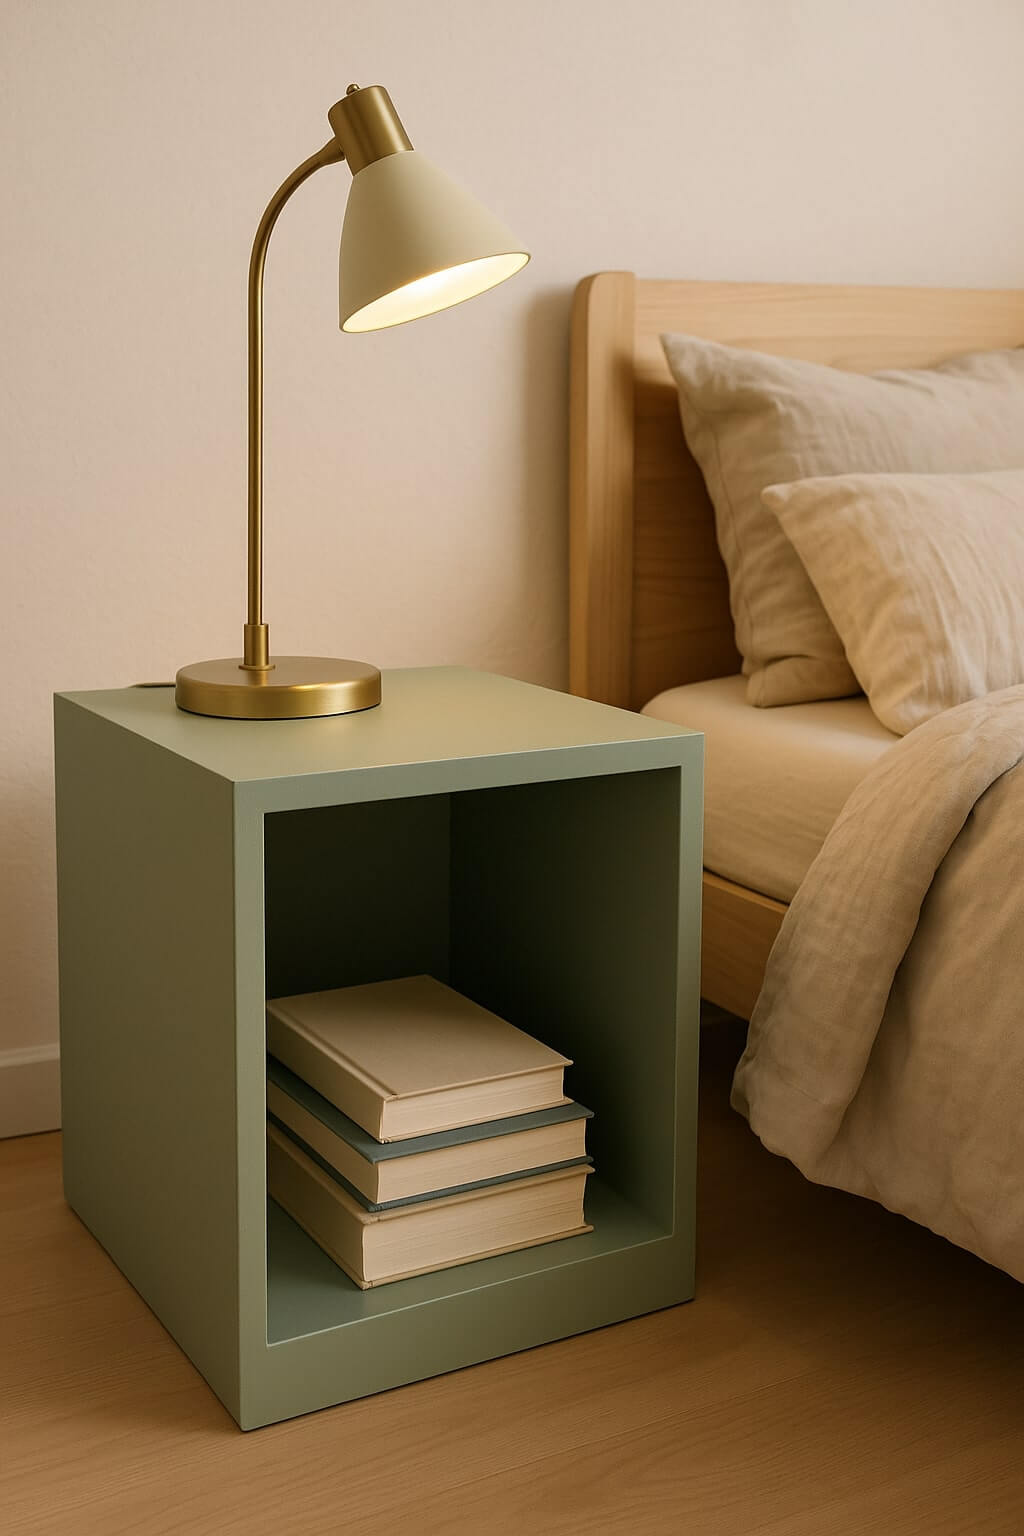
If you want a nightstand that’s super easy to build but still looks neat and modern, a simple cube nightstand is a perfect choice. It’s basically a box shape that you can use to store books, a lamp, or whatever you like next to your bed. Because of its clean, square design, it fits well in almost any bedroom style and doesn’t take up much space.
The best part is how quick and budget-friendly it is to make. You need a few wooden panels, some screws, and basic tools to put it together. You can even customize it by painting or staining the wood to match your room’s colors. Whether you leave it open for easy access or add a door or drawer, this cube nightstand is a simple project that gives you a stylish bedside table without any fuss.
12. Design a Nightstand with Basket Storage for Organization
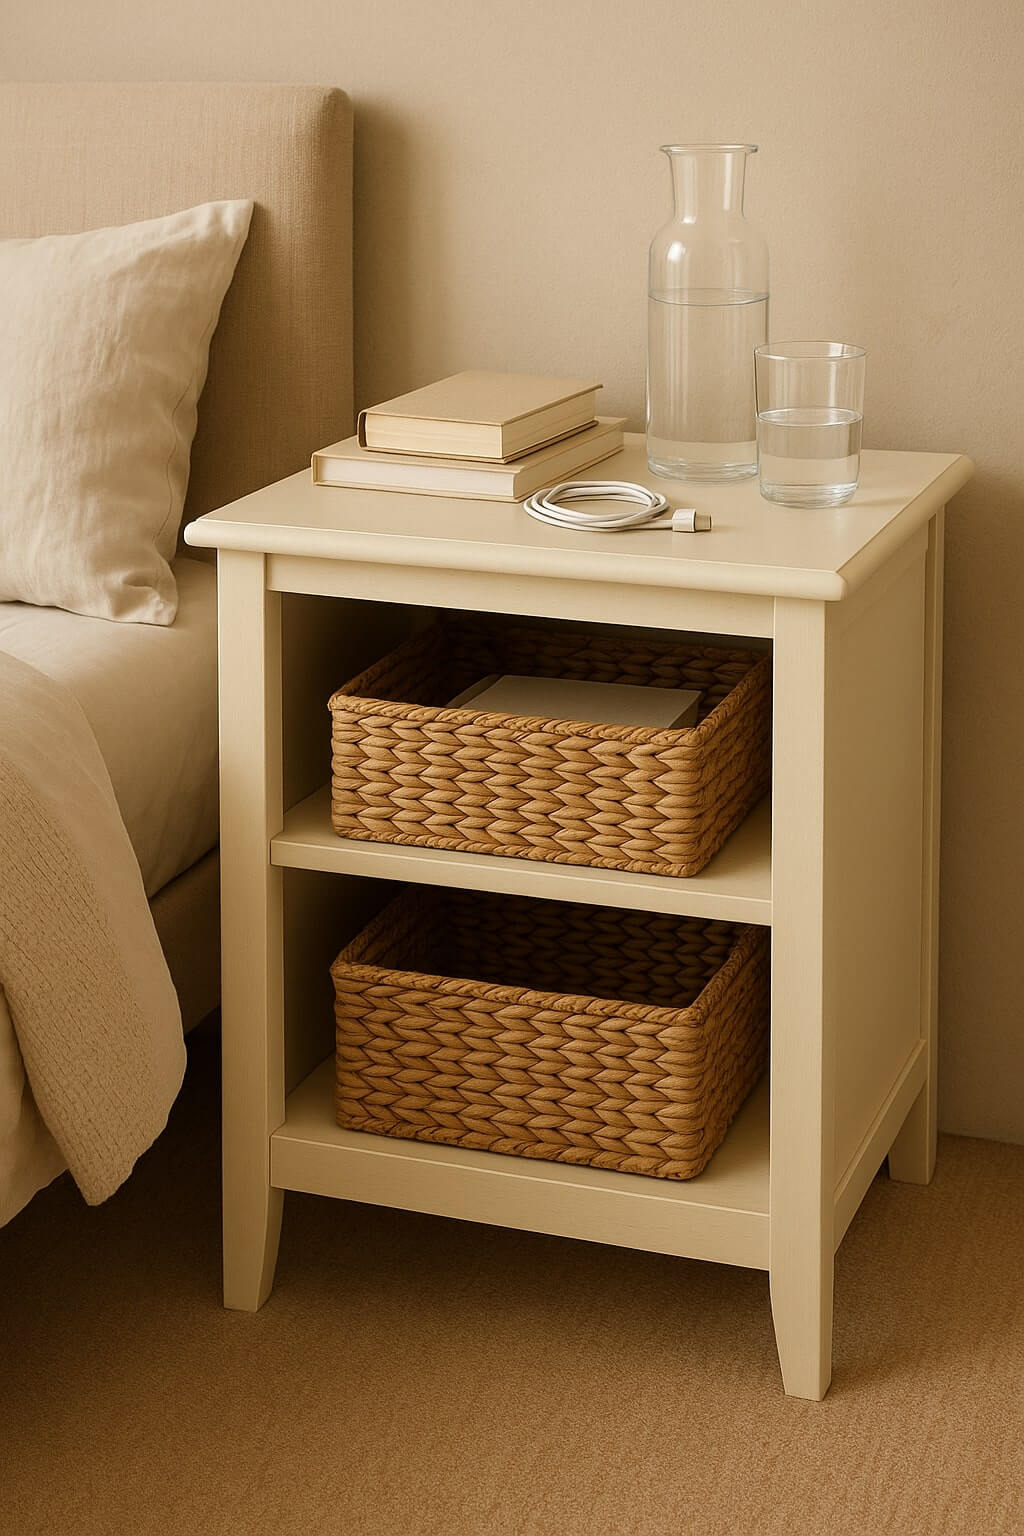
If you like keeping things neat but still want your nightstand to look charming, building one with basket storage is a great idea. Baskets add a warm, cozy touch and make it easy to organize your stuff, like books, chargers, or even your nighttime snacks, without everything getting messy. Plus, they’re simple to pull out and put back, so you always have quick access to your essentials.
This kind of nightstand DIY works well if you want a mix of open storage and style. You can build a basic wooden frame with shelves that hold one or two baskets, giving you lots of space without the need for complicated drawers.
13. Build a Nightstand with Hairpin Legs for a Chic Touch
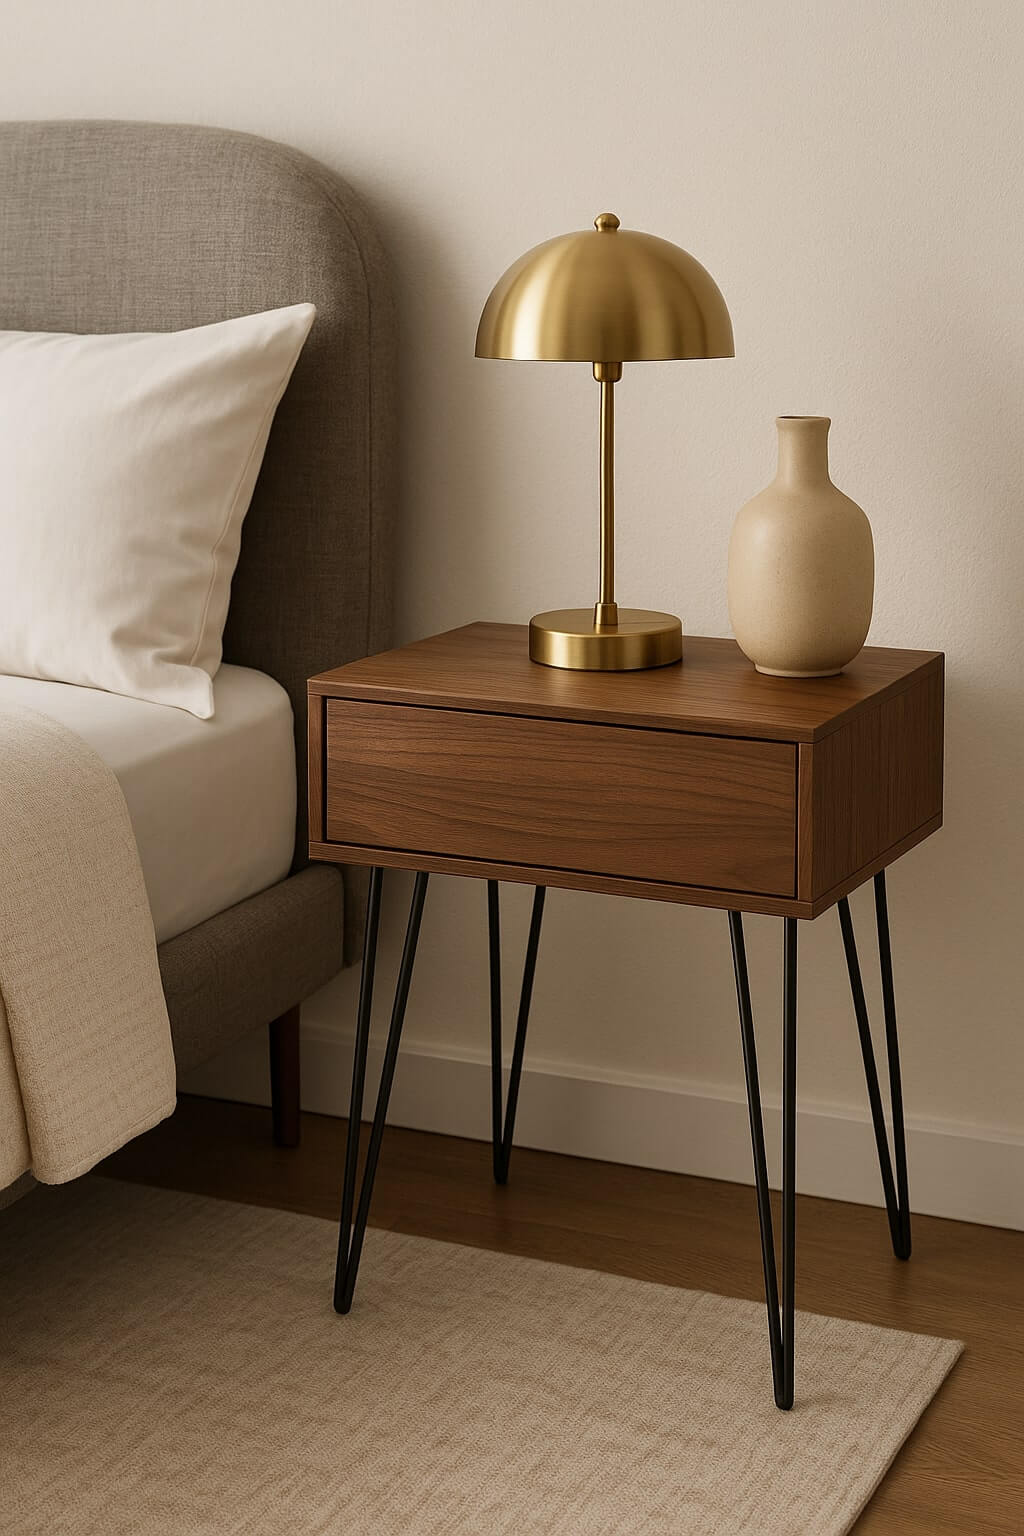
Hairpin legs have become a DIY staple for a reason: they’re stylish, affordable, and easy to install. These stylish nightstand legs are slim, metal, and kind of retro, giving your nightstand a light and airy feel while still being sturdy. They instantly make a simple wooden top look stylish and fresh.
Building this kind of nightstand is easy. You just need to attach the hairpin legs to a wooden tabletop or box, and you’re done. It’s perfect if you want a nightstand that’s both functional and eye-catching, plus it fits well with many decor styles—from mid-century modern to minimalist.
14. Refresh a Vintage Nightstand with Paint and New Hardware
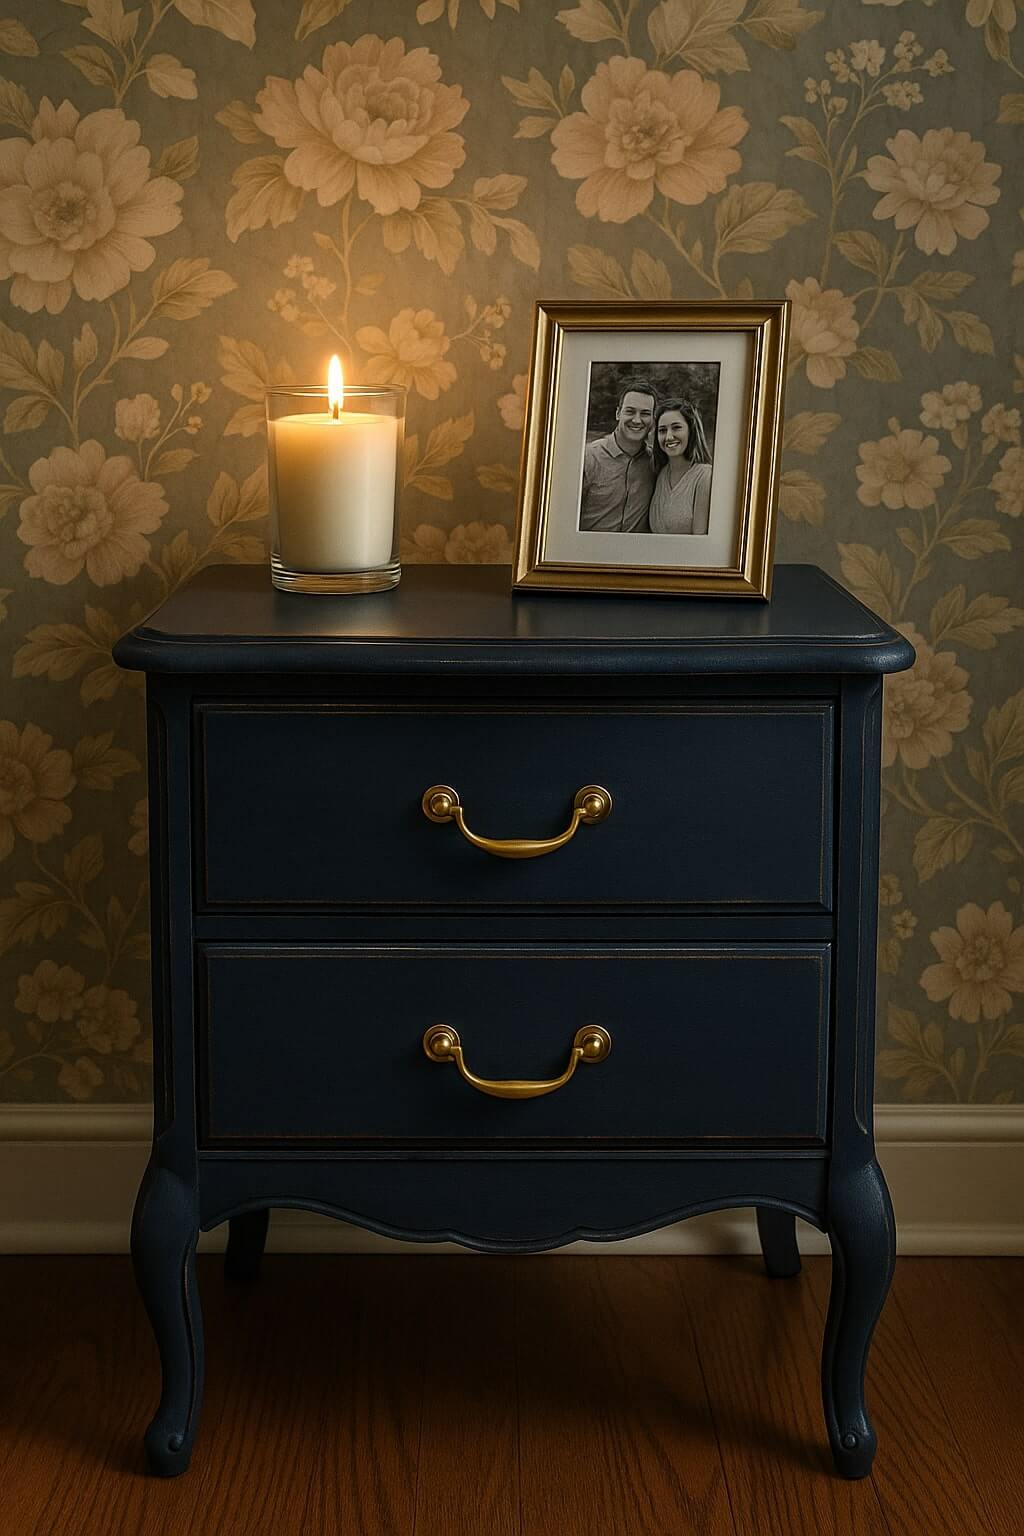
If you have an old vintage nightstand sitting around, this is your chance to bring it back to life. Start by cleaning it thoroughly and sanding off any rough patches or peeling paint. Next, choose a fresh paint color. For instance, soft pastels, creams, or even bold jewel tones work beautifully.
Swap out old drawer knobs for new ones that add a pop of personality, like brass or ceramic pulls. You can also distress the edges slightly with sandpaper to keep that vintage charm. This DIY nightstand makeover is perfect if you want a unique piece with character without building from scratch.
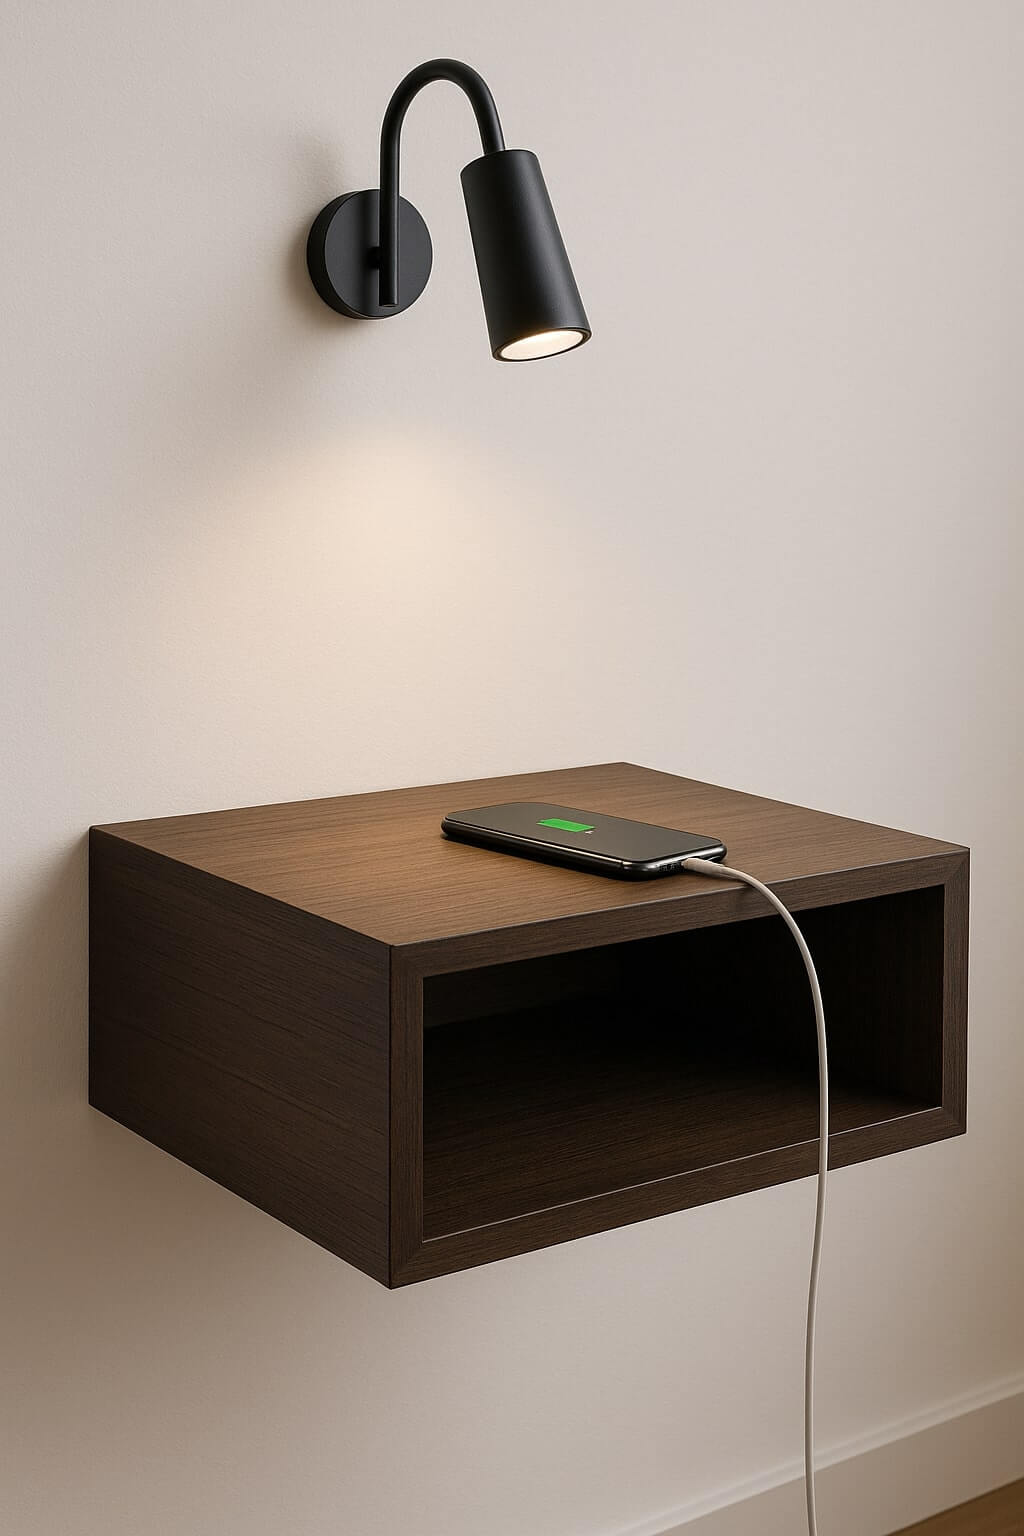
15. Make a DIY nightstand with a Built-In Charging Station
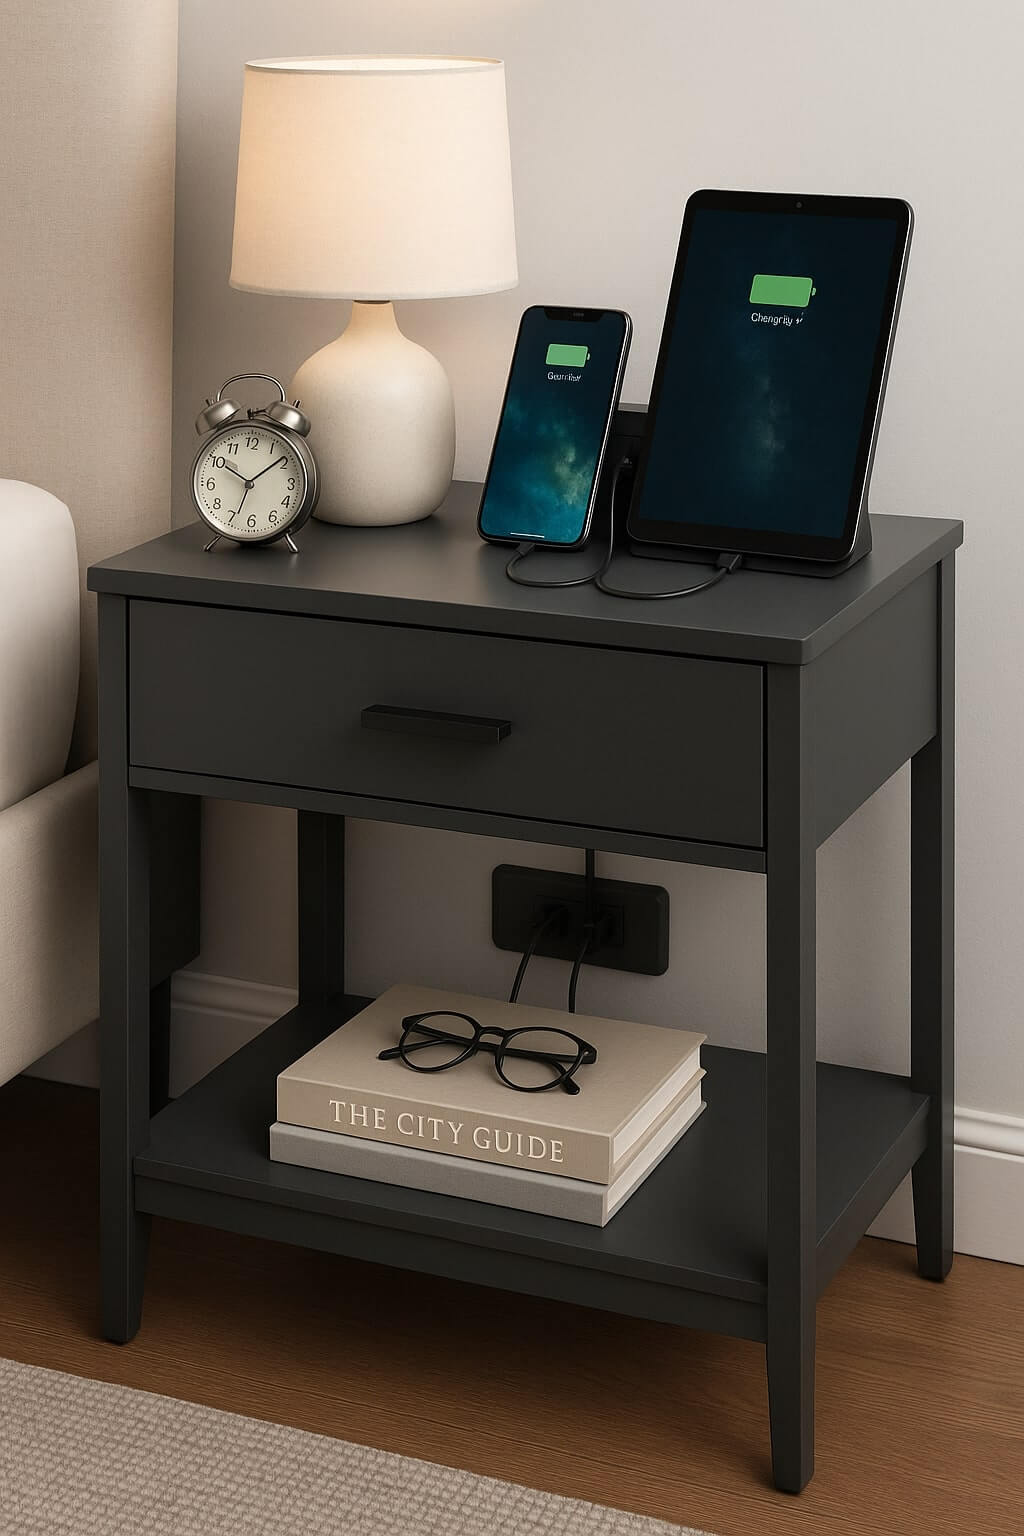
Having a DIY nightstand with a built-in charging station is a must-try, especially if you’re tired of dealing with messy cables or hunting for your charger at night. You’ll basically build or repurpose a nightstand, then add a small power strip or USB hub inside a drawer or on the back panel.
This diy nightstand idea is perfect for charging your phone, smartwatch, earbuds, or even a bedside lamp, all without cluttering up your tabletop. And the best part? You can customize it to match your space, whether you prefer a modern, rustic, or traditional look.
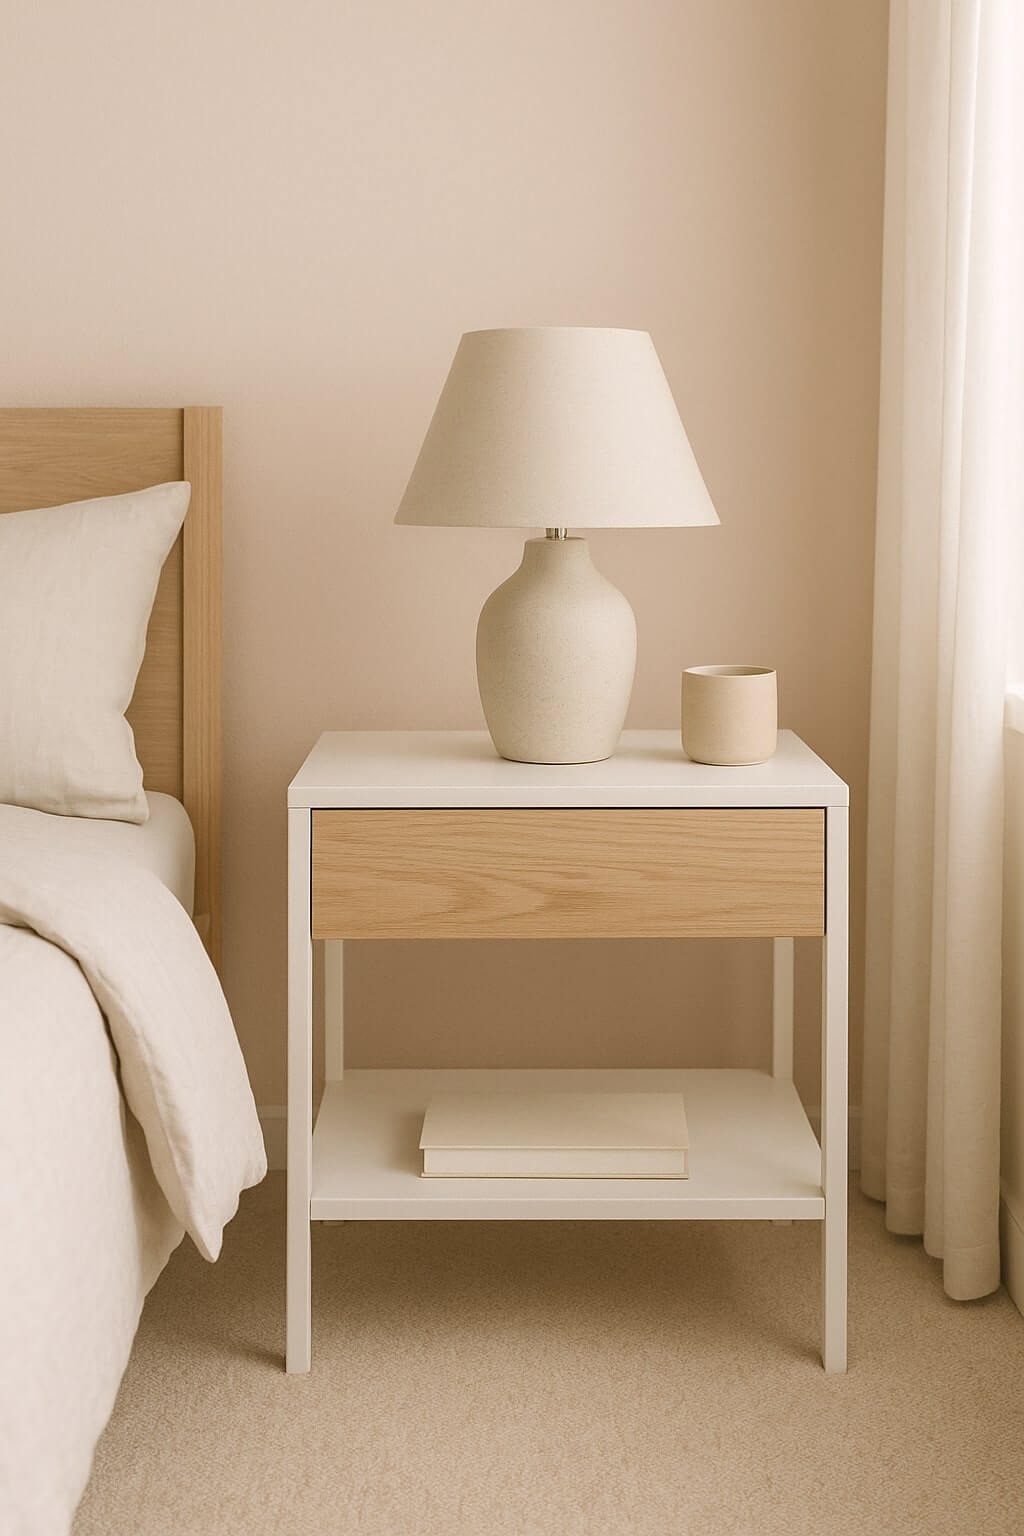
A Scandinavian-inspired DIY nightstand is perfect if you love furniture that feels light, airy, and stylish. This design usually features clean lines, natural wood tones, and simple shapes that give your space a calm and clutter-free look. It’s all about minimalism that still feels warm and welcoming, not cold or dull.
To create this look, you can use birch or pine wood, keep the structure low-profile, and stick to neutral colors like white, beige, or soft gray. Add soft-close drawers or an open shelf to make it functional without overcomplicating the design. This kind of DIY nightstand fits right into small bedrooms or minimalistic setups and pairs beautifully with light-colored bedding and simple decor.
RELATED: Minimalist Scandinavian Interior Design Guide & Tips
17. Build a Two-Tier Nightstand for Extra Storage and Style
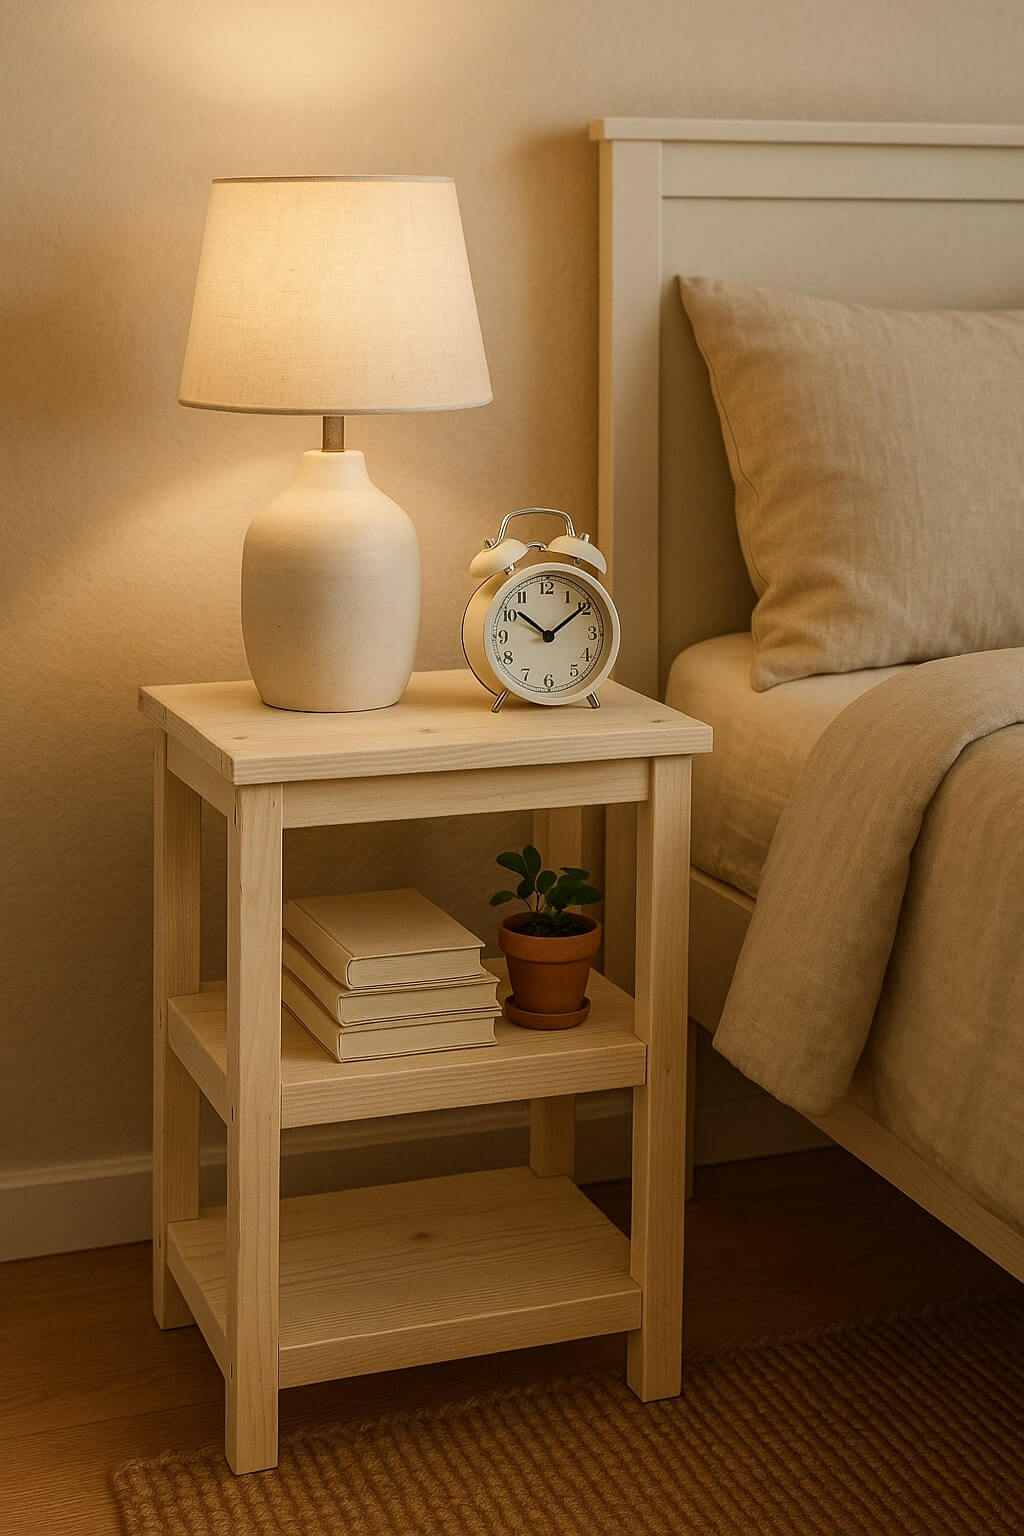
A two-tier DIY nightstand is an innovative solution if you want more storage without adding bulk to your bedroom. The design includes two levels, usually a tabletop and a lower shelf, giving you enough space to keep your essentials organized and within reach. You can place your lamp and alarm clock on the top, while the bottom shelf holds books, a basket, or even a decorative plant.
This diy nightstand style is simple to build, making it great for beginner woodworkers or DIYers on a budget. You can use pine, plywood, or even repurposed wood. Paint it to match your room or stain it to show off the natural grain.
18. Easy DIY Nightstand Plans with a Fold-Out Table
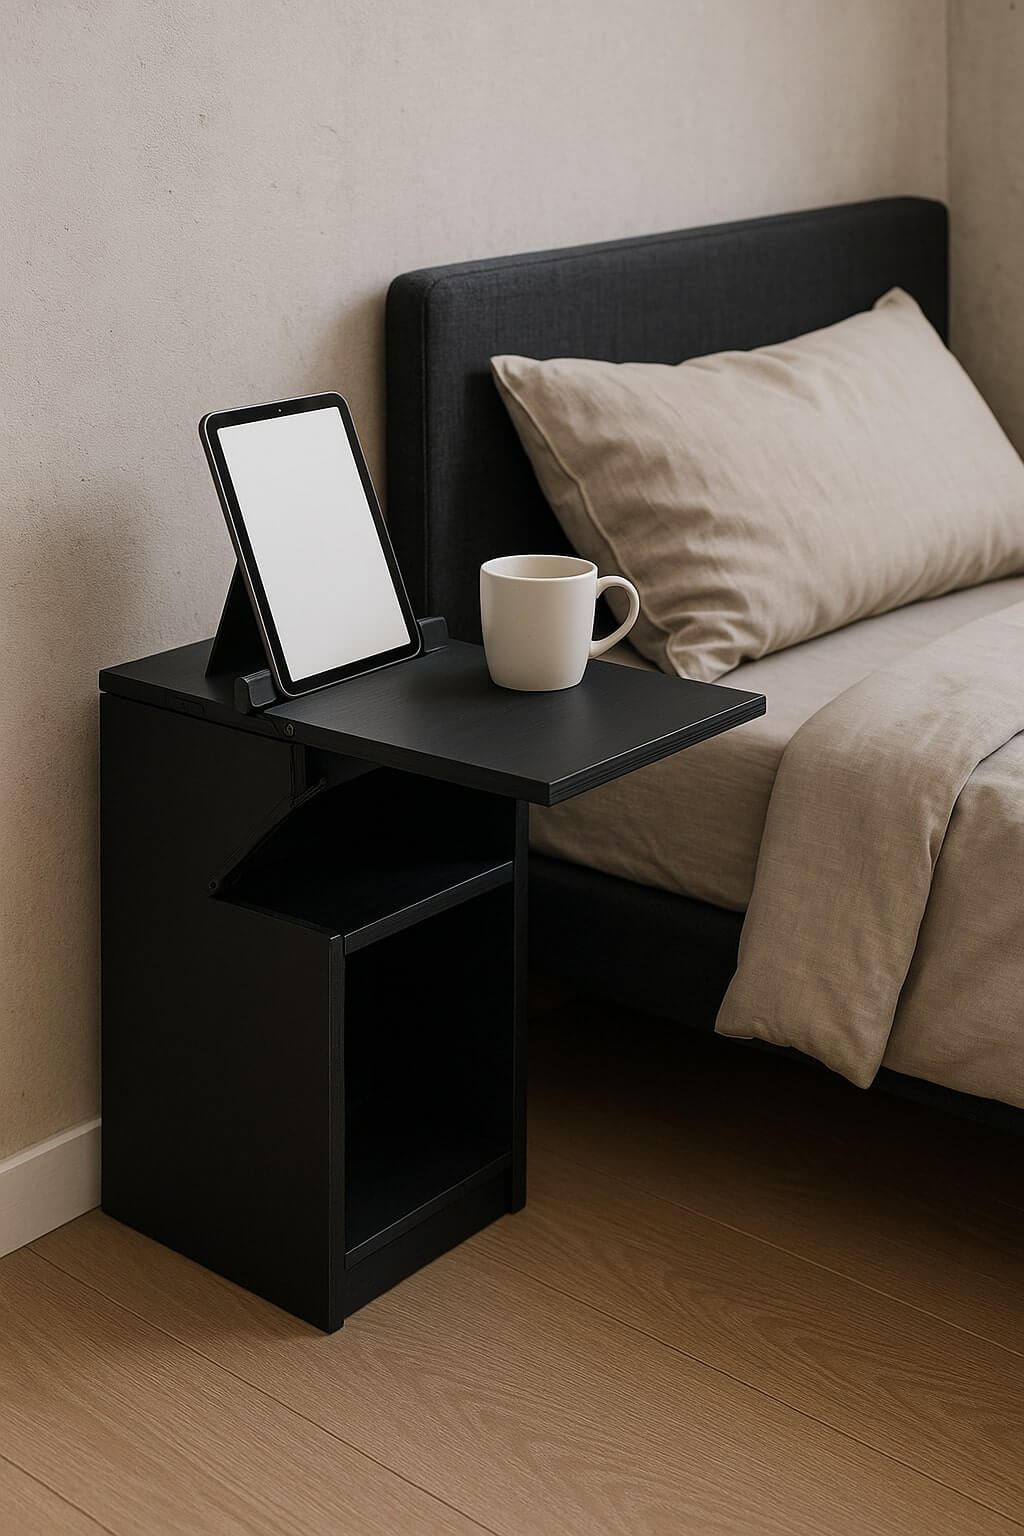
If you’re short on space but still want functionality, a nightstand DIY with a fold-out table might be what you need. It’s perfect for small bedrooms, guest rooms, or multi-purpose spaces. When folded down, it acts like a compact nightstand. But when you need extra surface space, maybe for your laptop, snacks, or a cup of tea, flip up the tabletop.
These free diy nightstand plans use basic materials like plywood, hinges, and support brackets. And the best part? You can customize it to match your decor, whether you prefer a rustic finish or a clean, modern look.
19. Craft a Compact Nightstand for Small Bedrooms
If you’re working with a tight space, crafting a compact DIY nightstand is one of the most innovative ways to keep your essentials close without overcrowding the room. This type of design focuses on simplicity and function, with just enough space to hold your bedside lamp, phone, books, or a small alarm clock.
The beauty of these DIY nightstands is that you don’t need fancy tools or expensive materials. With a few wooden boards, nails or screws, and basic measurements, you can whip up a minimal piece that fits snugly beside your bed. You can even go vertical by adding a small shelf or compartment underneath.
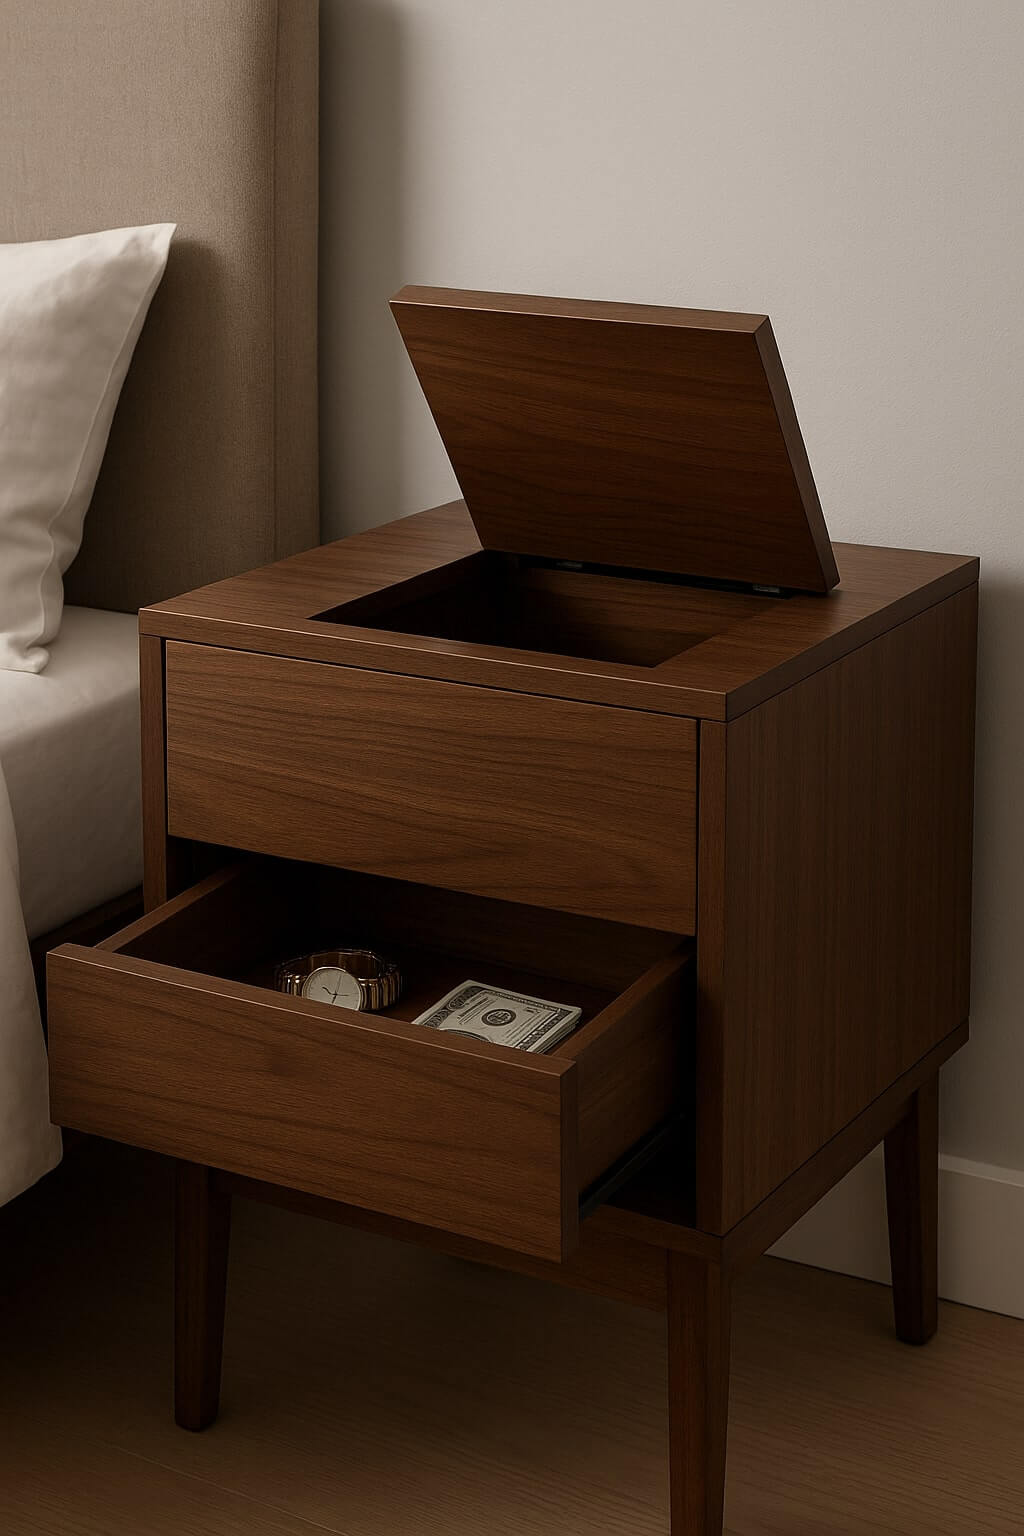
A DIY nightstand with hidden compartments is perfect if you like to keep certain things out of sight but still within reach. Whether it’s your journal, medication, valuables, or random bedside clutter, adding a secret spot to your nightstand gives you that extra layer of privacy and organization.
You can design this in a few clever ways—maybe a lift-up top panel, a sliding hidden drawer inside the main one, or a false bottom. It doesn’t have to look complicated on the outside. From the front, it can still be a sleek and simple DIY nightstand but with a clever twist that makes it feel custom-built just for your needs.
21. Make a Cheap DIY Nightstand Using Cardboard
A cheap DIY nightstand using cardboard might sound surprising at first, but it’s actually a creative and budget-friendly solution. This is an excellent pick if you’re looking for something temporary or eco-friendly. Cardboard is easy to find, lightweight, and super customizable. With the proper structure and layers, it can be surprisingly sturdy, too.
You can build a basic frame with strong corrugated cardboard, reinforce it with glue or tape, and then wrap it in fabric, wallpaper, or contact paper to match your decor. It’s great for kids’ rooms, dorms, or anyone on a tight budget. Plus, you can add shelves, drawers, or even little cubbies to store your bedtime essentials.
22. Build a Modern Nightstand with a Tempered Glass Top
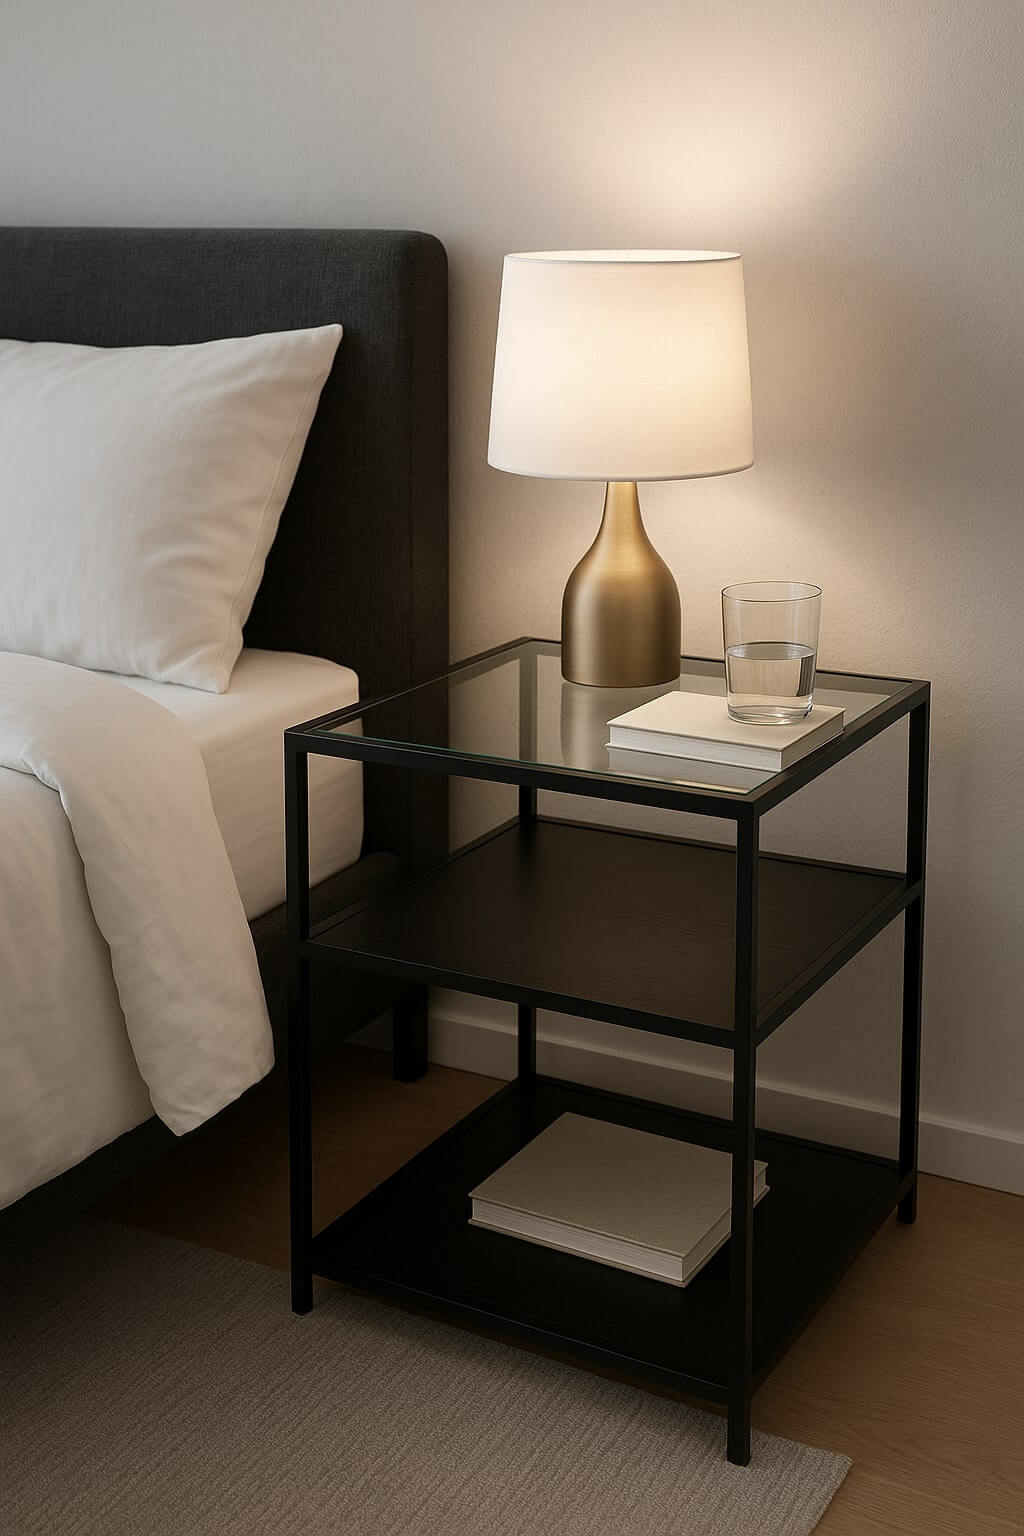
If you love clean lines and a modern vibe in your space, a DIY nightstand with a tempered glass top is a sleek and stylish option worth trying. This type of nightstand blends minimalism with sophistication, and it’s easier to build than you might think. The glass top adds a touch of elegance and makes the space feel more open.
You can use wood, metal, or even painted MDF for the base, depending on your style. Keep the design simple, a flat tabletop with a shelf or open space underneath, and place a tempered glass sheet on top for that polished look. Whether you’re going for a high-end feel or just want something a little different, this is a fun and rewarding DIY nightstand idea to explore.
23. Customize a Nightstand with Decorative Trim and Color
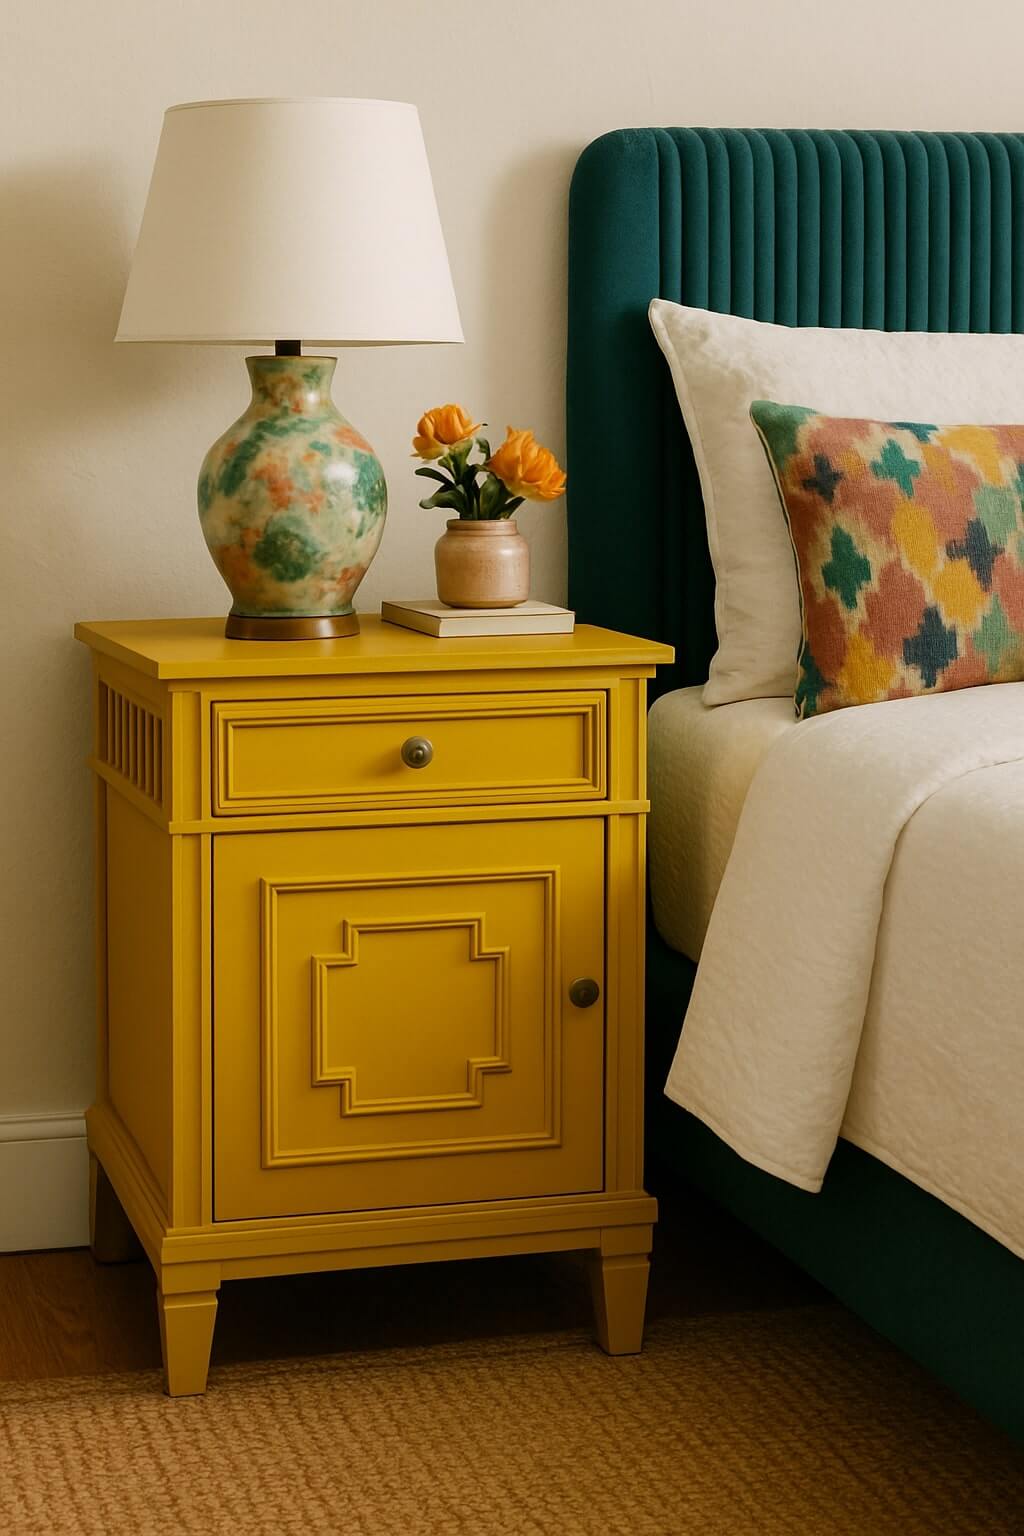
Want a nightstand that genuinely feels like you? Then, customizing one with decorative trim and a splash of color might be just what your space needs. This idea is perfect if you already have a basic nightstand lying around, from a thrift store or one that’s been collecting dust in a corner. You can add trim details like fluted molding, geometric patterns, or even scalloped edges to give your nightstand a unique look.
Then comes the fun part: painting! Whether you prefer a bold pop of color to brighten your bedroom or a soft, neutral tone for a calming vibe, this is your chance to play with your style. The beauty of this DIY nightstand project is that there are no rules. You get to decide how playful, elegant, or modern it turns out.
24. Build a DIY Bedside Table with Open Shelves
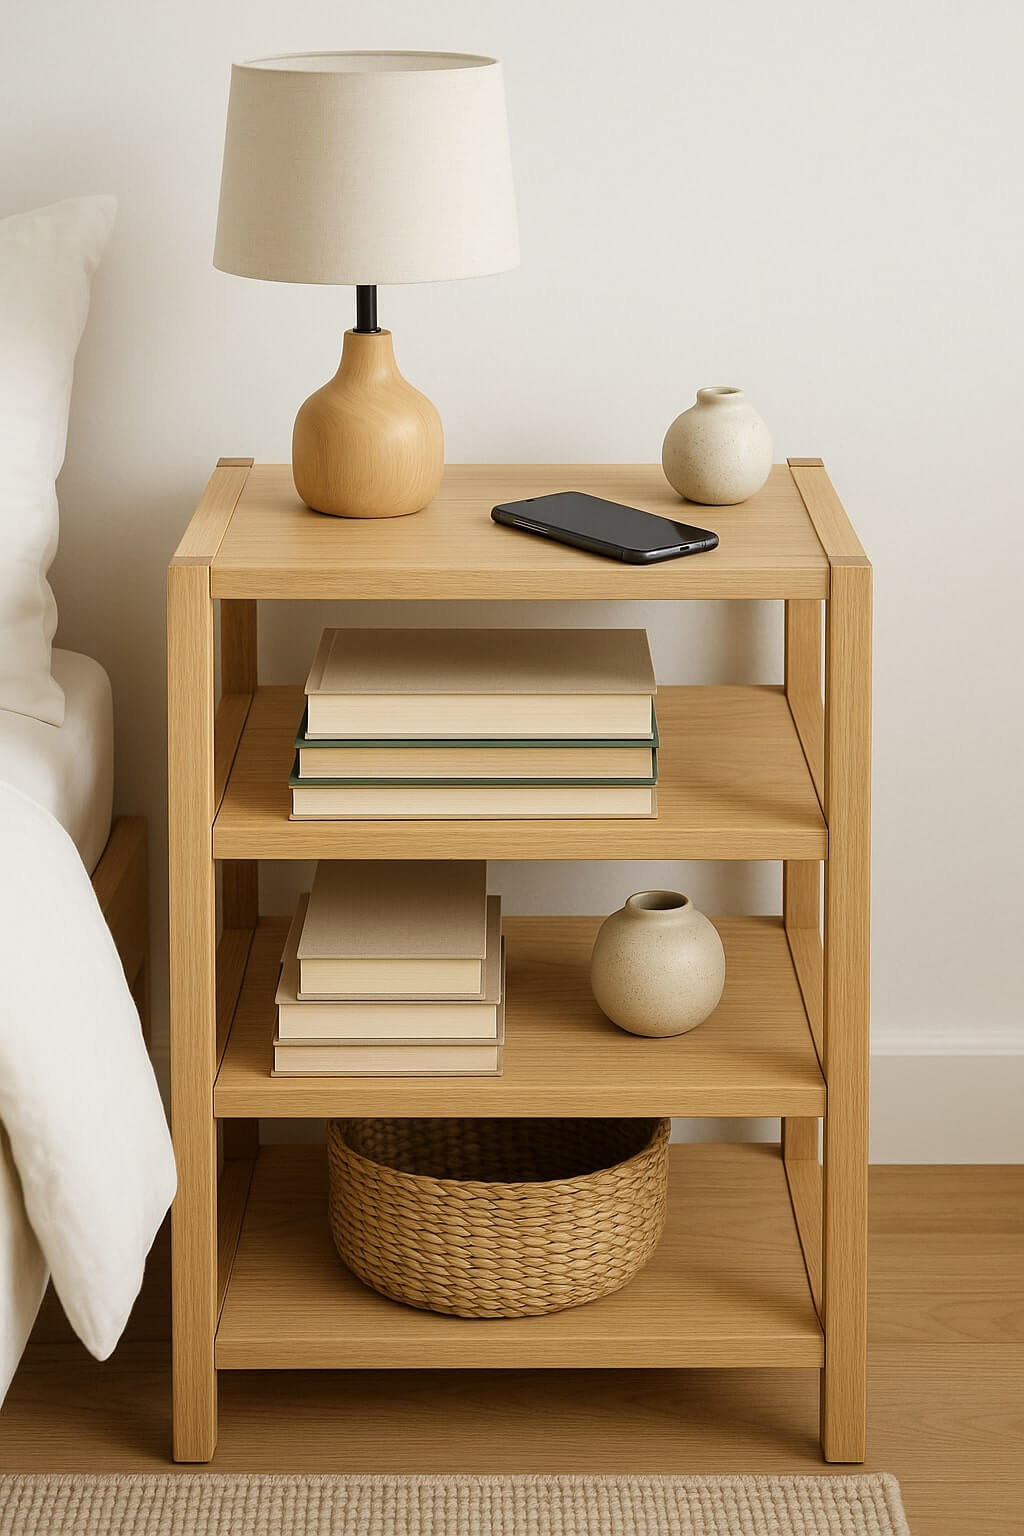
If you’re looking for a practical and easy-to-build DIY bedside table with open shelves, this idea is perfect for you. Open shelves give you quick access to your favorite books, nighttime essentials, or decorative items without any hassle. Plus, they make the nightstand feel lighter and less bulky, which is great if your bedroom is on the smaller side.
Building one is simple; you need a few wooden boards and some basic tools. You can customize the size to fit your space and style, whether you want a tall and narrow table or a wider, low-profile one. The open design also means you can add baskets or boxes to keep things organized and tidy.
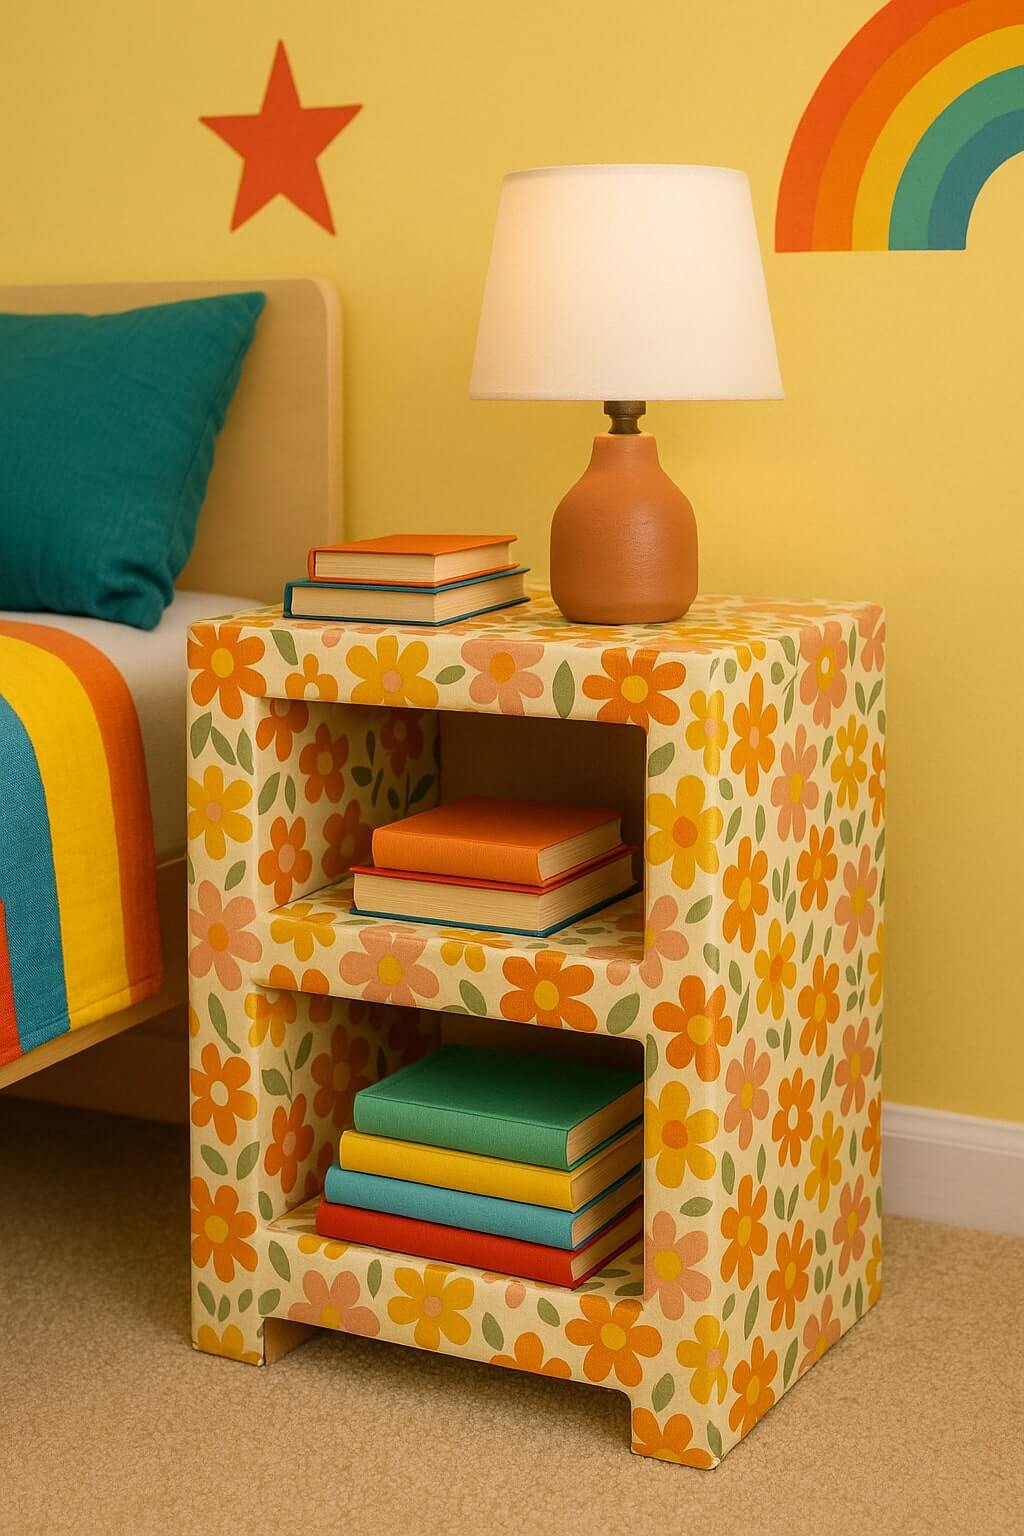
25. Make a DIY Nightstand That Doubles as a Small Bookshelf
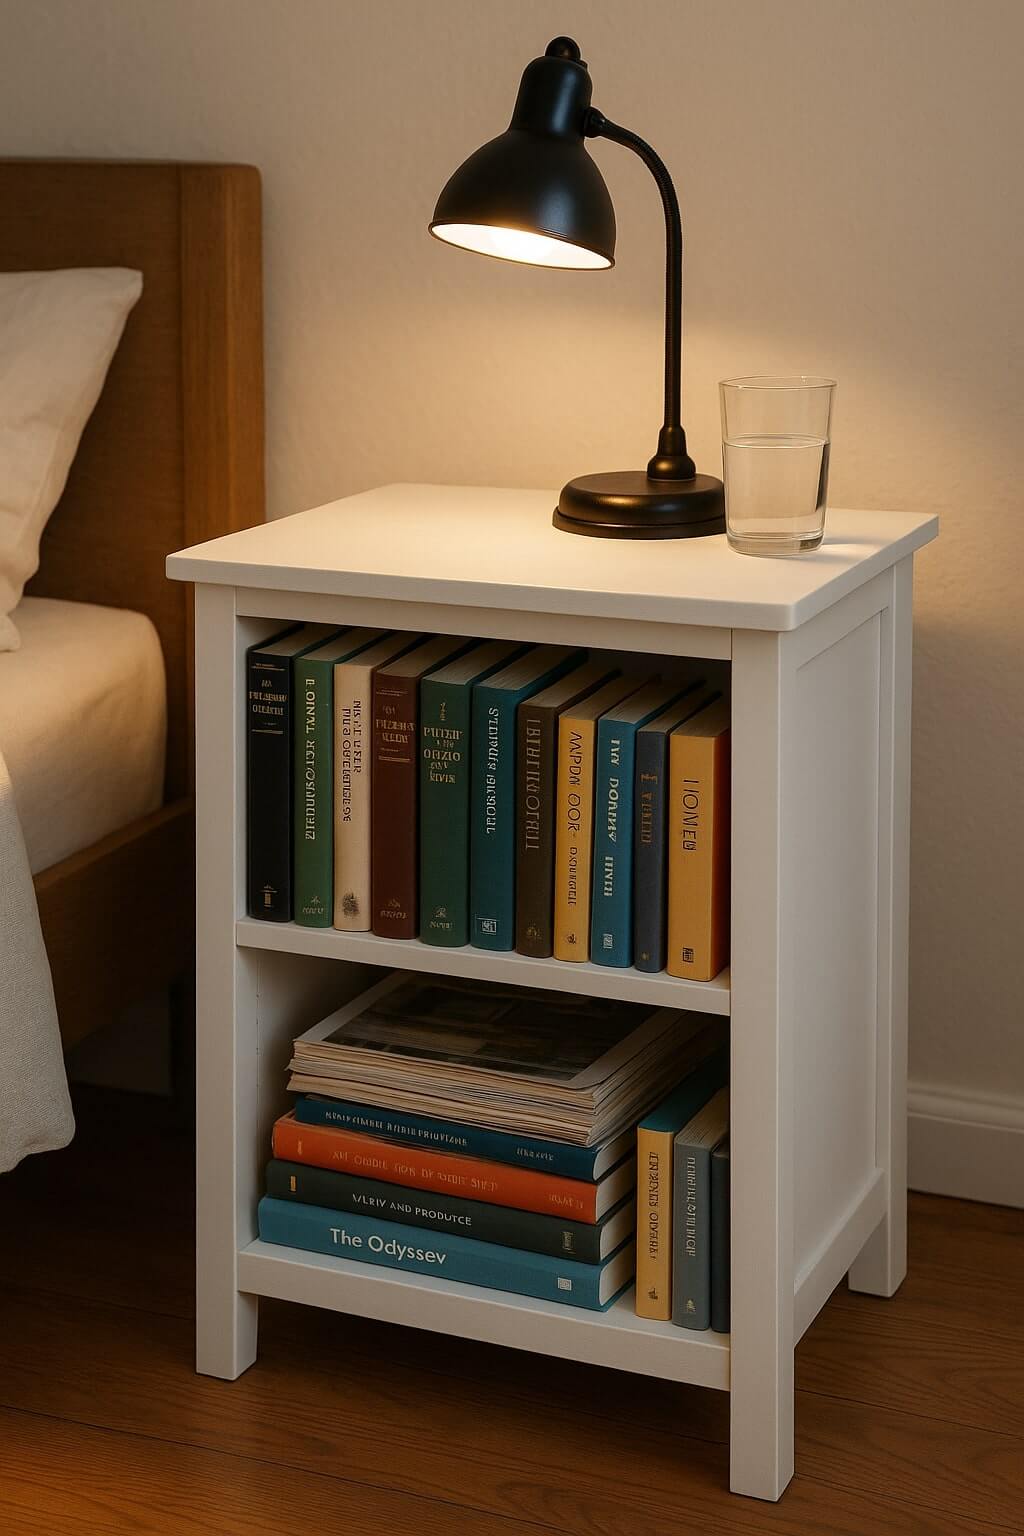
If you love reading and want your favorite books close by, a DIY nightstand that doubles as a small bookshelf is an innovative and stylish choice. This design gives you the perfect spot to keep your bedtime reads within arm’s reach while also serving as a functional nightstand for your lamp, phone, or cup of water.
This kind of nightstand usually features a few shelves built right into the side or underneath the tabletop, giving you space to organize your books, magazines, or even decorative items. It’s a great way to combine storage and style without taking up extra room in your bedroom.
How to Make a DIY Nightstand: Step-by-Step Guide
Now that you have plenty of ideas, you might be wondering, how do you actually build your own DIY nightstand? Let’s walk through the basics to get you started.
Step 1: Plan Your DIY Nightstand
Before you start cutting wood or buying tools, it’s essential to have a clear plan. Ask yourself:
- How much space do I have beside my bed?
- Do I want a drawer, open shelves, or both?
- What style fits my room? Is it modern, rustic, mid-century?
- What size works best for my needs?
Sketch a rough design on paper or use free DIY nightstand plans you can find online. Make a materials list, including the type and size of wood, screws, nails, drawer slides (if using drawers), and any finishing supplies like paint or stain.
Step 2: Gather Your Materials and Tools
For a simple DIY nightstand, you’ll typically need:
- Wood boards (pine is beginner-friendly and affordable)
- Wood screws and nails
- Wood glue
- Sandpaper or an electric sander
- Drawer slides (optional)
- Paint or wood stain and sealant
- Tools: saw (circular or hand saw), drill, screwdriver, measuring tape, clamps
Make sure you have a clean, safe workspace, and don’t forget safety gear like goggles and gloves.
Step 3: Cut Your Wood Pieces
Using your plan, cut all your wood pieces to size. For a basic nightstand with one drawer and an open shelf, you’ll usually need:
- 2 side panels (height of your nightstand)
- 1 top panel
- 1 bottom panel or shelf
- 1 back panel (optional, but helps with stability)
- Drawer parts (box sides, front, back, and bottom)
Take your time measuring twice and cutting once to avoid mistakes. Using clamps can help keep pieces steady while cutting or assembling.
Step 4: Assemble the Frame
Start by attaching the side panels to the bottom panel using wood glue and screws. Then, add the top panel in the same way. If you have a back panel, attach it now to square up the frame and add stability.
Once the frame is solid, add the shelf if your design includes one. Make sure everything is level and fits tightly together.
Step 5: Build the Drawer (If Included)
If you’reding a drawer, build the box separately using wood glue and screws or nails. Attach the drawer bottom to the four sides, then sand it smooth. Attach drawer slides on both the drawer and inside the nightstand frame according to the manufacturer’s structions.
If you don’t have to fuss with slides, you can make a simple wooden box drawer that slides in and out but doesn’t have metal hardware. Just make sure it fits snugly without sticking.
Step 6: Sand and Smooth All Surfaces
Sand every surface carefully to remove rough edges and splinters. Start with a medium grit sandpaper (around 120 grit) and finish with a finer grit (220 grit) for a smooth finish. DonDon’trget to sand inside drawers and corners.
Step 7: Paint, Stain, or Seal Your Nightstand
Here, your nightstand starts to come alive. Choose a paint or stain that fits your room style. If you want a natural wood look, use a wood stain followed by a clear sealant to protect the surface.
If painting, consider using a primer first for better coverage. Let each coat dry thoroughly before adding the next one. You can also add decorative touches like stenciling, distressing, or new knobs.
Step 8: Attach Hardware and Final Touches
Once the paint or stain is dry, attach drawer pulls or knobs and any other hardware like bumpers or felt pads on the bottom to protect your floors. Check that drawers slide smoothly and everything feels solid.
Step 9: Place Your New Nightstand and Enjoy
Bring your DIY nightstand to your bedroom, add your favorite lamp, books, or nighttime essentials, and enjoy the satisfaction of having built it yourself. You can even customize it further down the road by swapping hardware or repainting to keep it fresh.
Conclusion
Building a DIY nightstand is one of the most satisfying and affordable ways to upgrade your bedroom. With so many ideas to choose from, you can find the perfect project to match your style, budget, and skill level. Whether you go for a sleek floating design or a rustic crate nightstand, the joy of creating something with your own hands is unbeatable.
We hope this list has inspired you to get started on your nightstand DIYing. Remember, it’s not about perfection but about making something functional and uniquely yours. So grab your tools, pick your favorite plan, and let’s build something great together.
If you have questions or want to share your project, drop a comment below. We’d love to hear from you!
Editors’ Pick: